Introduction to Peanut Butter Jelly Cheesecake
Ah, the sweet nostalgia of childhood! When I think of my favorite snacks, peanut butter and jelly sandwiches instantly come to mind. There’s something magical about that creamy peanut butter paired with the sweet, fruity jelly. It’s a combination that brings back memories of school lunches and carefree afternoons. But what if I told you that you could take that beloved duo and transform it into a decadent dessert? Enter the Peanut Butter Jelly Cheesecake!
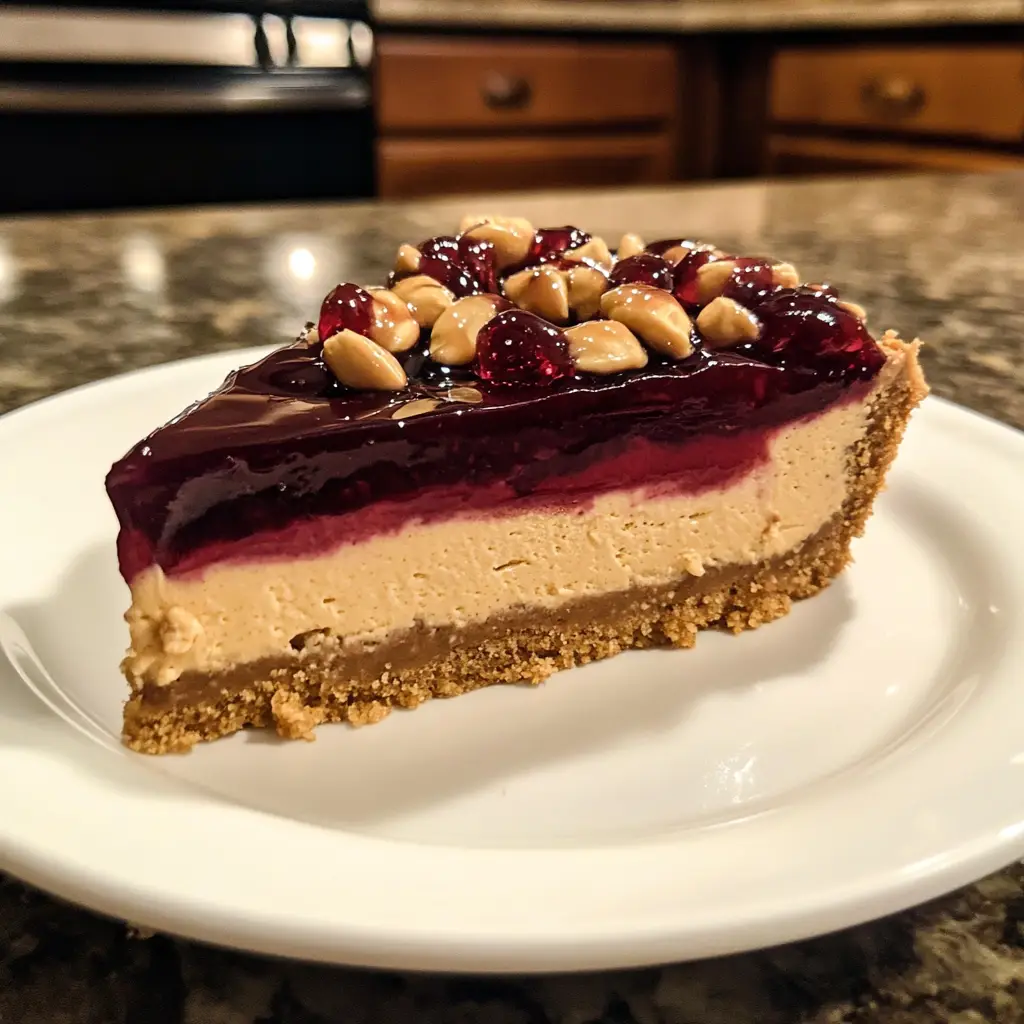
This delightful cheesecake is not just a treat for the taste buds; it’s a celebration of flavors that dance together in perfect harmony. Imagine a rich, velvety peanut butter filling sitting atop a buttery graham cracker crust, all topped with a luscious layer of your favorite jelly. It’s like a hug in dessert form! I remember the first time I made this cheesecake; my friends couldn’t believe how delicious it was. They were instantly transported back to their childhoods, just like I was.
As a passionate home cook, I love experimenting with flavors and textures. This recipe is one of my proudest creations. It’s perfect for gatherings, birthdays, or even just a cozy night in. Plus, it’s surprisingly easy to make! Whether you’re a seasoned baker or a novice in the kitchen, I promise you can whip this up with a little love and patience.
So, grab your apron and let’s dive into the world of Peanut Butter Jelly Cheesecake. I can’t wait to share this delightful recipe with you, along with some tips and tricks that I’ve learned along the way. Trust me, your taste buds will thank you!
Ingredients for Peanut Butter Jelly Cheesecake
Before we embark on our culinary adventure, let’s gather all the ingredients we’ll need to create this scrumptious Peanut Butter Jelly Cheesecake. I always believe that the quality of your ingredients can make a world of difference in the final product. So, let’s make sure we’re using the best of the best!
Main Ingredients
- 1 ½ cups graham cracker crumbs
- ½ cup unsalted butter, melted
- 2 cups cream cheese, softened
- 1 cup creamy peanut butter (I love using natural peanut butter for a richer flavor)
- 1 cup powdered sugar
- 1 teaspoon vanilla extract
- 1 cup jelly (your choice of flavor, but grape or strawberry works wonders)
- 2 large eggs
When I first made this cheesecake, I opted for a classic grape jelly, and it was a hit! The sweetness of the jelly complements the peanut butter perfectly. However, feel free to experiment with your favorite flavors. Raspberry or even apricot jelly can add a delightful twist!
Optional Add-ons
- Chopped peanuts for garnish
- Whipped cream for serving
- Chocolate drizzle for an extra indulgent touch
Sometimes, I like to sprinkle a few chopped peanuts on top for that extra crunch. It adds a lovely texture that contrasts beautifully with the creamy cheesecake. And who can resist a drizzle of chocolate? It’s like the cherry on top of an already fabulous dessert!
Now that we have our ingredients ready, let’s move on to the next exciting step: preparing our Peanut Butter Jelly Cheesecake!
How to Prepare Peanut Butter Jelly Cheesecake
Now that we have all our ingredients lined up like eager little soldiers, it’s time to roll up our sleeves and get cooking! Making this Peanut Butter Jelly Cheesecake is a delightful journey, and I’m here to guide you through each step. Let’s dive in!
Step 1: Prepare the Crust
First things first, we need to create a solid foundation for our cheesecake. The crust is like the cozy blanket that wraps around our delicious filling.
- Preheat your oven to 350°F (175°C).
- In a mixing bowl, combine the graham cracker crumbs and melted butter. Stir until the crumbs are evenly coated.
- Press the mixture firmly into the bottom of a 9-inch springform pan. Make sure it’s packed tightly for a sturdy crust.
- Bake the crust for about 8-10 minutes, then let it cool.
Tips for a Perfect Crust
To achieve that perfect crust, I like to use the bottom of a measuring cup to press the crumbs down evenly. It helps create a nice, flat surface. Also, don’t skip the baking step! It adds a lovely toasty flavor that elevates the entire cheesecake.
Step 2: Make the Peanut Butter Filling
Next up is the star of the show: the peanut butter filling! This is where the magic happens.
- In a large mixing bowl, beat the softened cream cheese until smooth.
- Add in the creamy peanut butter, powdered sugar, and vanilla extract. Mix until everything is well combined and creamy.
- Finally, add the eggs one at a time, mixing gently after each addition.
Tips for Achieving Creaminess
For a super creamy filling, make sure your cream cheese is at room temperature. Cold cream cheese can lead to lumps, and nobody wants that! Also, be careful not to overmix once you add the eggs; we want a smooth texture, not a fluffy one.
Step 3: Prepare the Jelly Layer
Now, let’s get fruity! The jelly layer adds a burst of flavor that perfectly complements the peanut butter.
- In a small saucepan, gently heat the jelly over low heat until it’s slightly melted and pourable.
- Remove it from the heat and let it cool for a few minutes.
Tips for Choosing the Right Jelly
When selecting your jelly, go for high-quality brands or homemade options if you can. The flavor really shines through in this dessert. I’ve found that grape jelly gives a classic taste, while strawberry adds a fun twist!
Step 4: Assemble the Cheesecake
It’s time to bring all the elements together! This is where the cheesecake starts to take shape.
- Pour the peanut butter filling over the cooled crust, spreading it evenly.
- Carefully spoon the jelly over the peanut butter layer, allowing it to spread naturally.
Tips for Layering
To create a beautiful layered effect, I like to use the back of a spoon to gently swirl the jelly into the peanut butter filling. Just a little swirl creates a stunning marbled look!
Step 5: Bake and Chill
We’re almost there! Now, we need to bake our cheesecake to set everything in place.
- Bake the cheesecake in the preheated oven for about 50-60 minutes, or until the edges are set but the center is still slightly jiggly.
- Turn off the oven and crack the door open, letting the cheesecake cool inside for about an hour.
- Once cooled, transfer it to the fridge and chill for at least 4 hours, or overnight for the best results.
Tips for Cooling Properly
Cooling the cheesecake slowly in the oven helps prevent cracks. It’s like giving it a warm hug as it sets! Patience is key here; the longer it chills, the better the flavors meld together.
And there you have it! Your Peanut Butter Jelly Cheesecake is now ready to shine. I can already imagine the smiles on everyone’s faces when they take that first bite. Let’s move on to the next exciting part: the equipment we’ll need!
Equipment Needed for Peanut Butter Jelly Cheesecake
Before we dive into the deliciousness of our Peanut Butter Jelly Cheesecake, let’s make sure we have all the right tools at our fingertips. Having the right equipment can make the process smoother and more enjoyable. Here’s what you’ll need:
- 9-inch Springform Pan: This is essential for easy removal of the cheesecake. If you don’t have one, a regular pie dish will work, but it might be a bit trickier to serve.
- Mixing Bowls: A couple of medium to large mixing bowls will help you combine your ingredients without any mess.
- Electric Mixer: A hand mixer or stand mixer is perfect for achieving that creamy peanut butter filling. If you don’t have one, a whisk and some elbow grease will do the trick!
- Measuring Cups and Spoons: Accurate measurements are key to a successful cheesecake, so make sure you have these handy.
- Spatula: A rubber spatula is great for scraping down the sides of your mixing bowl and ensuring everything is well combined.
- Small Saucepan: This is for gently heating the jelly. If you don’t have a saucepan, a microwave-safe bowl can work too—just be sure to heat it in short bursts!
- Cooling Rack: If you have one, it’s perfect for letting your cheesecake cool evenly. If not, a plate will suffice.
With these tools in hand, you’re all set to create your Peanut Butter Jelly Cheesecake masterpiece! I remember the first time I made this dessert; I was so excited to use my springform pan. It felt like I was a professional baker! Now, let’s move on to the fun part—making this cheesecake come to life!
Variations of Peanut Butter Jelly Cheesecake
While the classic Peanut Butter Jelly Cheesecake is a showstopper on its own, I love to get creative in the kitchen! There are so many fun variations you can try to put your own spin on this delightful dessert. Here are a few ideas that have become favorites in my home:
- Chocolate Peanut Butter Jelly Cheesecake: Add a layer of melted chocolate to the crust or mix cocoa powder into the peanut butter filling. It’s like a peanut butter cup in cheesecake form!
- Nutty Banana Cheesecake: Swap out the jelly for a layer of banana puree or sliced bananas. The combination of peanut butter and banana is simply divine!
- Vegan Peanut Butter Jelly Cheesecake: Use dairy-free cream cheese and a nut-based crust. You can even substitute maple syrup for powdered sugar for a healthier twist.
- Berry Blast Cheesecake: Instead of jelly, top your cheesecake with a fresh berry compote made from strawberries, blueberries, or raspberries. It adds a refreshing tartness that balances the sweetness perfectly.
Each variation brings its own unique flavor profile, and I love experimenting with different ingredients. The possibilities are endless! So, don’t be afraid to let your creativity shine. After all, cooking is all about having fun and making it your own!
Cooking Notes for Peanut Butter Jelly Cheesecake
As I’ve learned through my culinary adventures, a few cooking notes can make all the difference when it comes to perfecting your Peanut Butter Jelly Cheesecake. Here are some tips that I’ve gathered over the years to ensure your cheesecake turns out just right:
- Room Temperature Ingredients: Always make sure your cream cheese and eggs are at room temperature before mixing. This helps create a smooth and creamy filling without lumps.
- Don’t Overmix: When adding the eggs, mix just until combined. Overmixing can introduce too much air, leading to cracks in your cheesecake.
- Water Bath Method: For an ultra-smooth texture, consider baking your cheesecake in a water bath. Wrap the springform pan in aluminum foil and place it in a larger pan filled with hot water. This helps regulate the temperature and prevents cracking.
- Chill Time: Patience is key! Allow your cheesecake to chill for at least 4 hours, but overnight is even better. This lets the flavors meld beautifully.
- Serving Temperature: For the best taste and texture, serve your cheesecake slightly chilled, but not too cold. Let it sit at room temperature for about 15-20 minutes before slicing.
These little notes have helped me create the perfect Peanut Butter Jelly Cheesecake time and time again. I hope they guide you on your baking journey as well! Now, let’s move on to how to serve this delightful dessert.
Serving Suggestions for Peanut Butter Jelly Cheesecake
Now that our Peanut Butter Jelly Cheesecake is ready to dazzle, let’s talk about how to serve it up! Presentation can elevate any dessert, and I love to make my cheesecake look as good as it tastes. Here are some of my favorite serving suggestions that will surely impress your family and friends:
- Garnish with Whipped Cream: A dollop of freshly whipped cream on top adds a light and airy touch. It’s like a fluffy cloud resting on your cheesecake!
- Sprinkle Chopped Peanuts: For a delightful crunch, sprinkle some chopped peanuts on top. It adds texture and enhances that peanut butter flavor.
- Drizzle with Chocolate: A drizzle of melted chocolate or chocolate sauce can take your cheesecake to the next level. It’s a sweet finishing touch that makes it look extra indulgent.
- Fresh Fruit: Serve slices with fresh berries or banana slices on the side. The freshness balances the richness of the cheesecake beautifully.
- Pair with Coffee or Milk: For a cozy experience, serve your cheesecake with a cup of coffee or a glass of cold milk. It’s the perfect pairing that brings back those childhood memories!
When I serve this cheesecake, I love to watch the smiles spread across everyone’s faces. It’s a dessert that brings people together, and these serving suggestions make it even more special. So, get ready to slice into your masterpiece and enjoy every delicious bite!
Tips for Making Peanut Butter Jelly Cheesecake
As I’ve whipped up my fair share of Peanut Butter Jelly Cheesecakes, I’ve gathered a treasure trove of tips that can help you create the perfect dessert. These little nuggets of wisdom can make all the difference, ensuring your cheesecake turns out as delightful as you envision. Here are my top tips for making this scrumptious treat:
- Measure Accurately: Precision is key in baking! Use measuring cups and spoons to ensure you get the right amounts of each ingredient. It can be the difference between a creamy cheesecake and a crumbly one.
- Use Quality Ingredients: Opt for high-quality peanut butter and cream cheese. The flavors will shine through, making your cheesecake taste even more delicious. I always choose natural peanut butter for its rich flavor.
- Don’t Rush the Chilling: Allow your cheesecake to chill for at least 4 hours, but overnight is best. This helps the flavors meld and gives the cheesecake a firmer texture.
- Keep an Eye on the Oven: Ovens can vary, so check your cheesecake a few minutes before the suggested baking time. You want it to be set around the edges but still slightly jiggly in the center.
- Let It Rest: After baking, let your cheesecake cool in the oven with the door ajar. This gradual cooling helps prevent cracks and keeps your cheesecake looking beautiful.
With these tips in your back pocket, you’re well on your way to creating a Peanut Butter Jelly Cheesecake that will wow your family and friends. I can’t wait for you to experience the joy of sharing this delightful dessert!
Breakdown of Time for Peanut Butter Jelly Cheesecake
As a passionate home cook, I know that timing is everything in the kitchen. When it comes to making a Peanut Butter Jelly Cheesecake, it’s essential to plan your time wisely. Here’s a quick breakdown of how long each step will take, so you can manage your baking adventure like a pro!
- Prep Time: Approximately 30 minutes. This includes gathering your ingredients, preparing the crust, and mixing the peanut butter filling.
- Cooking Time: About 50-60 minutes. This is the time it takes to bake the cheesecake to perfection.
- Chilling Time: At least 4 hours, but overnight is best. This allows the flavors to meld and the cheesecake to set properly.
Total Time: If you add it all up, you’re looking at around 5 hours and 30 minutes, including chilling time. But don’t let that scare you! Most of that time is just waiting for the cheesecake to chill. You can use that time to relax or prepare a delicious meal to enjoy while you wait.
With this time breakdown, you’ll be well-prepared to create your Peanut Butter Jelly Cheesecake. I promise the wait will be worth it when you take that first heavenly bite!
Nutritional Information for Peanut Butter Jelly Cheesecake
As a passionate home cook, I believe that enjoying dessert doesn’t have to come with guilt. While Peanut Butter Jelly Cheesecake is a delightful treat, it’s also important to be mindful of its nutritional content. Here’s a quick overview of the nutritional information per slice (assuming the cheesecake is cut into 12 slices):
- Calories: Approximately 350 calories
- Protein: 7 grams
- Fat: 25 grams
- Carbohydrates: 30 grams
- Sugar: 15 grams
- Fiber: 1 gram
Keep in mind that these values can vary based on the specific ingredients you use, such as the type of peanut butter or jelly. If you’re looking to lighten things up, consider using reduced-fat cream cheese or a sugar substitute. I’ve found that making small adjustments can still yield a delicious cheesecake without sacrificing flavor!
Ultimately, this Peanut Butter Jelly Cheesecake is a delightful indulgence that can be enjoyed in moderation. After all, life is all about balance, and treating yourself to a slice of this creamy goodness is a sweet way to celebrate special moments!
Frequently Asked Questions about Peanut Butter Jelly Cheesecake
As I’ve shared my love for Peanut Butter Jelly Cheesecake, I’ve often found myself answering a few common questions. It’s always fun to connect with fellow dessert enthusiasts and help them navigate their cheesecake-making journey. Here are some frequently asked questions that I hope will guide you as you embark on your own culinary adventure!
Can I make Peanut Butter Jelly Cheesecake ahead of time?
Absolutely! In fact, making it a day in advance is a great idea. The flavors have time to meld together, and the cheesecake sets beautifully. Just be sure to cover it well in the fridge to keep it fresh!
What if I don’t have a springform pan?
No worries! You can use a regular pie dish or a square baking pan. Just keep in mind that it might be a bit trickier to slice and serve. If you use a regular pan, consider lining it with parchment paper for easier removal.
Can I use a different type of jelly?
Definitely! While grape and strawberry are classic choices, feel free to experiment with your favorite flavors. Raspberry, apricot, or even a homemade fruit compote can add a unique twist to your cheesecake!
How do I store leftover cheesecake?
Store any leftovers in an airtight container in the fridge. It should stay fresh for about 4-5 days. If you want to keep it longer, you can freeze individual slices. Just wrap them tightly in plastic wrap and then place them in a freezer-safe container.
Can I make this cheesecake gluten-free?
Yes! Simply use gluten-free graham cracker crumbs for the crust. There are many delicious options available that will work perfectly in this recipe.
These questions often pop up when I share my Peanut Butter Jelly Cheesecake, and I hope my answers help you feel more confident in your baking journey. Remember, cooking is all about experimenting and having fun, so don’t hesitate to make this recipe your own!
Conclusion on Peanut Butter Jelly Cheesecake
As we wrap up our delightful journey into the world of Peanut Butter Jelly Cheesecake, I can’t help but feel a sense of joy. This dessert is more than just a sweet treat; it’s a nostalgic embrace that brings back cherished memories of childhood. The creamy peanut butter filling, the sweet jelly layer, and the buttery crust come together in a symphony of flavors that dance on your palate.
What I love most about this cheesecake is its versatility. Whether you’re celebrating a special occasion or simply indulging in a cozy night at home, it’s the perfect dessert to share with loved ones. Plus, with the tips and variations I’ve shared, you can easily make it your own, experimenting with flavors and textures that suit your taste.
So, the next time you’re in the mood for a dessert that’s both comforting and indulgent, remember this Peanut Butter Jelly Cheesecake. It’s a recipe that not only satisfies your sweet tooth but also warms your heart. I can’t wait for you to experience the joy of making and sharing this delightful cheesecake. Happy baking!


