Introduction to Kool-Aid Sour Grapes Recipe
As a passionate home cook, I love experimenting with flavors that bring a smile to my family and friends. One of my favorite treats to whip up is the Kool-Aid Sour Grapes recipe. It’s a delightful combination of sweet and tangy that dances on your taste buds, making it the perfect snack for any occasion. I remember the first time I made these vibrant little bites; it was a sunny afternoon, and I was looking for something fun to serve at a backyard gathering. The kids were running around, and I wanted to create a treat that would not only be delicious but also visually appealing.
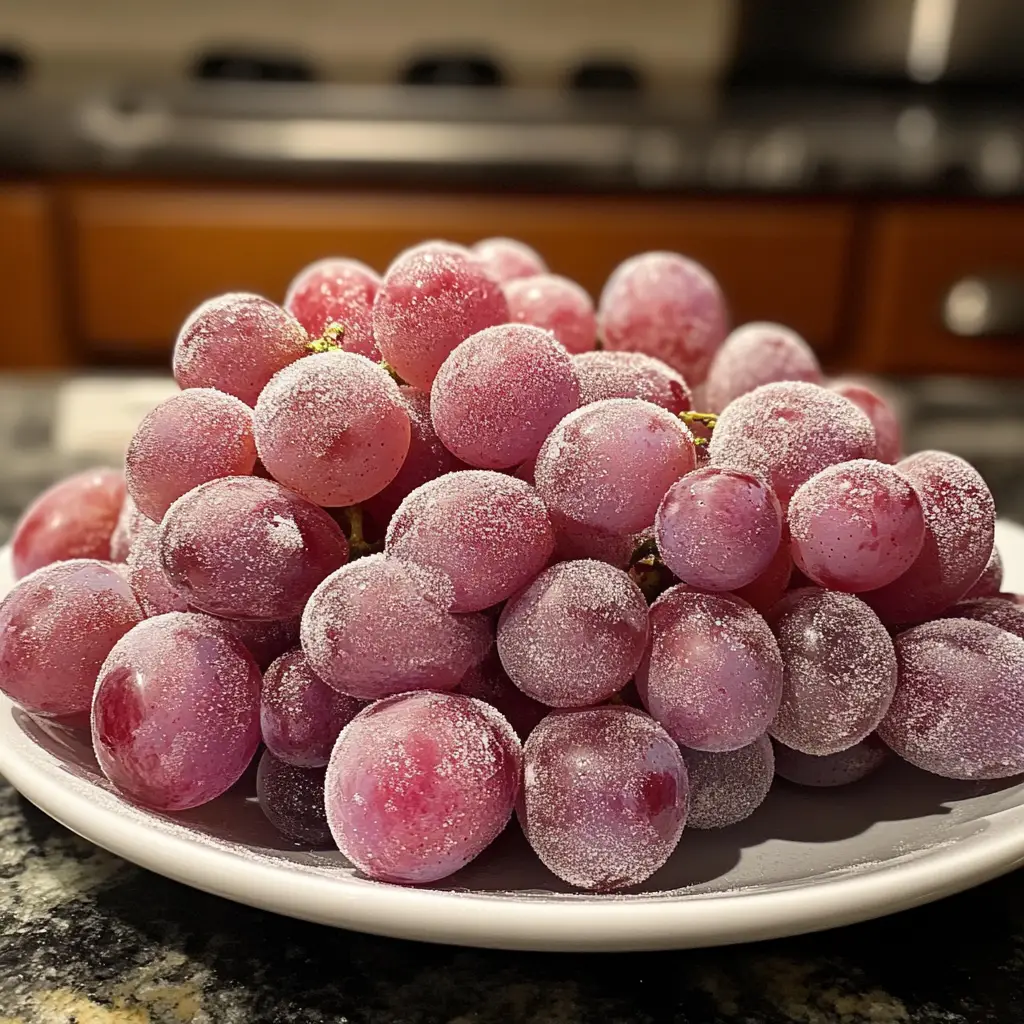
When I stumbled upon the idea of coating grapes in Kool-Aid, I was instantly intrigued. The thought of transforming ordinary grapes into colorful, sour delights was too tempting to resist! I gathered my ingredients, and with a sprinkle of excitement, I began my culinary adventure. The result? A bowl of bright, tangy grapes that disappeared faster than I could say “Kool-Aid!”
This recipe is not just about the taste; it’s about the joy of creating something special. Whether you’re hosting a party, looking for a fun snack for the kids, or simply wanting to treat yourself, Kool-Aid Sour Grapes are sure to impress. Plus, they’re incredibly easy to make! So, let’s dive into the world of flavors and colors, and I’ll guide you through the steps to create your own batch of these delightful treats.
Ingredients for Kool-Aid Sour Grapes Recipe
Before we dive into the fun of making Kool-Aid Sour Grapes, let’s gather our ingredients. This recipe is simple, but the quality of your ingredients can make a world of difference. I always say, fresh is best! Here’s what you’ll need:
Main Ingredients
- 2 cups of fresh grapes (red or green, your choice!)
- 1 cup of granulated sugar
- 1 packet of Kool-Aid (any flavor you fancy, but I love the classic grape or cherry for that extra zing!)
- 1 tablespoon of citric acid (this adds that sour punch, and trust me, it’s worth it!)
When selecting grapes, I recommend looking for firm, plump ones. They should be free from blemishes and have a nice shine. If you can, buy organic grapes; they taste sweeter and are better for you. Plus, they make your Kool-Aid Sour Grapes even more delightful!
Optional Add-ons
- 1 teaspoon of lemon juice (for an extra layer of tanginess)
- Chili powder (if you’re feeling adventurous and want a spicy kick!)
- Chocolate drizzle (for a sweet twist that kids will love)
These optional add-ons can elevate your Kool-Aid Sour Grapes to a whole new level. I once added a sprinkle of chili powder, and it was a hit at a summer barbecue! Just remember, the key is to have fun and experiment with flavors that excite you. Now that we have our ingredients ready, let’s move on to the next step of this delicious journey!
How to Prepare Kool-Aid Sour Grapes Recipe
Now that we have our ingredients all lined up, it’s time to roll up our sleeves and get cooking! Making Kool-Aid Sour Grapes is a fun and straightforward process. I promise, you’ll be amazed at how quickly these little bites of joy come together. Let’s dive into the steps!
Step 1: Gather Your Ingredients
First things first, let’s make sure we have everything we need. I like to lay out all my ingredients on the counter. It makes the process smoother and more enjoyable. Plus, it’s a great way to double-check that I haven’t forgotten anything!
Tips for Ingredient Quality
- Always choose fresh grapes. They should be firm and juicy, not mushy.
- For the Kool-Aid, pick a flavor that excites you! The brighter, the better!
- When it comes to sugar, I prefer granulated sugar for the best texture.
Step 2: Prepare the Grapes
Next up, we need to prepare our grapes. This step is crucial because clean grapes make for the best treats. I usually rinse them under cold water and gently rub them to remove any dirt or residue.
Tips for Washing and Drying
- After washing, pat the grapes dry with a clean kitchen towel. This helps the coating stick better.
- Make sure the grapes are completely dry before moving on to the next step. Wet grapes can make the coating clump up.
Step 3: Mix the Kool-Aid
Now comes the fun part! In a mixing bowl, combine the granulated sugar, Kool-Aid powder, and citric acid. Stir it all together until it’s well mixed. The colors will be vibrant, and the smell will be absolutely delightful!
Tips for Achieving the Right Flavor
- If you want a more intense flavor, feel free to add a little more Kool-Aid powder. Just remember, a little goes a long way!
- For a unique twist, try mixing two flavors of Kool-Aid together. It can create a fun surprise for your taste buds!
Step 4: Coat the Grapes
Time to coat those beautiful grapes! I like to do this in batches. Take a handful of grapes and toss them in the Kool-Aid mixture. Make sure they’re evenly coated for that perfect burst of flavor!
Tips for Even Coating
- Use a large bowl to give the grapes plenty of room to roll around. This helps ensure an even coating.
- Don’t be afraid to get your hands in there! Sometimes, the best way to coat them is to gently toss them with your fingers.
Step 5: Chill and Serve
Once your grapes are coated, it’s time to chill them in the refrigerator. This step is essential because it helps the flavors meld together and makes the grapes refreshing!
Tips for Best Serving Temperature
- Let the grapes chill for at least an hour. The longer they sit, the better the flavors will be!
- Serve them cold for the best experience. They’re like little bursts of summer in your mouth!
And there you have it! With these simple steps, you’ll have a bowl of Kool-Aid Sour Grapes ready to impress your family and friends. I can’t wait for you to try this recipe and see the smiles on everyone’s faces!
Equipment Needed for Kool-Aid Sour Grapes Recipe
Before we dive into the fun of making Kool-Aid Sour Grapes, let’s take a moment to gather the necessary equipment. Don’t worry; you won’t need any fancy gadgets! Most of the tools are likely already in your kitchen. Here’s what you’ll need:
- Mixing Bowl: A large bowl is perfect for mixing the Kool-Aid coating and tossing the grapes. If you don’t have a big bowl, a smaller one will work; just do it in batches!
- Measuring Cups and Spoons: Accurate measurements are key to achieving the right flavor. If you don’t have these, you can use any cup or spoon as a makeshift measure, just keep it consistent.
- Colander: This is great for washing and draining the grapes. If you don’t have one, a regular strainer or even a clean kitchen towel can do the trick!
- Refrigerator: You’ll need this to chill your grapes after coating them. If you’re short on space, just stack them in a container to save room.
- Kitchen Towel: For drying the grapes after washing. A paper towel works just as well if you don’t have a clean kitchen towel handy.
With these simple tools, you’re all set to create your delicious Kool-Aid Sour Grapes! Remember, cooking is all about improvisation, so feel free to use what you have on hand. Now, let’s get back to the fun part—making those tasty treats!
Variations of Kool-Aid Sour Grapes Recipe
One of the best things about the Kool-Aid Sour Grapes recipe is its versatility! You can easily switch things up to suit your taste or the occasion. Here are a few fun variations that I’ve tried and loved:
- Fruit Medley: Instead of just grapes, mix in other fruits like strawberries, pineapple chunks, or even apple slices. The different textures and flavors create a delightful fruit salad that everyone will enjoy!
- Colorful Layers: Use different flavors of Kool-Aid to create layers of color. For example, coat half the grapes in cherry and the other half in blue raspberry. It’s not just tasty; it’s a feast for the eyes!
- Frozen Treats: For a refreshing twist, freeze the coated grapes. They become icy bites of joy, perfect for hot summer days. Just pop them in the freezer for a couple of hours before serving!
- Herbal Infusion: Add a hint of fresh mint or basil to the Kool-Aid mixture for a unique herbal twist. It adds a refreshing note that pairs beautifully with the sweetness of the grapes.
These variations are just the tip of the iceberg! I encourage you to get creative and experiment with flavors that excite you. The beauty of cooking is that there are no strict rules—only delicious possibilities waiting to be discovered!
Cooking Notes for Kool-Aid Sour Grapes Recipe
As I’ve dived into the world of Kool-Aid Sour Grapes, I’ve picked up a few handy notes that can make your experience even better. These little tips can help you avoid common pitfalls and ensure your grapes turn out perfectly every time!
- Timing is Key: Make sure to allow enough time for the grapes to chill after coating. The longer they sit, the more the flavors meld together, creating a delightful burst of taste.
- Storage: If you have leftovers (which is rare!), store them in an airtight container in the fridge. They’re best enjoyed within a couple of days, as the coating can start to lose its crunch over time.
- Experiment with Sweetness: If you prefer a less sweet treat, feel free to reduce the amount of sugar. You can also try using a sugar substitute if you’re looking for a healthier option.
- Presentation: For a fun touch, serve your Kool-Aid Sour Grapes in colorful cups or on skewers. It adds a festive flair that’s perfect for parties!
These cooking notes are like little nuggets of wisdom I’ve gathered along my culinary journey. They can help you create the best Kool-Aid Sour Grapes possible, ensuring that every bite is as delightful as the last. Happy cooking!
Serving Suggestions for Kool-Aid Sour Grapes Recipe
Now that you’ve created your vibrant bowl of Kool-Aid Sour Grapes, it’s time to think about how to serve them! Presentation can elevate your dish from simple to spectacular, and I love to get a little creative with it. Here are some fun serving suggestions that I’ve tried and enjoyed:
- Colorful Skewers: Thread the coated grapes onto colorful skewers for a fun, grab-and-go treat. Kids love eating food on sticks, and it makes for a playful presentation!
- Party Platter: Arrange the grapes on a large platter with other snacks like cheese cubes, crackers, or even some fresh veggies. It creates a beautiful spread that’s perfect for gatherings.
- Chilled Cups: Serve the grapes in clear plastic cups filled with ice. This not only keeps them cool but also showcases their vibrant colors, making them look even more appetizing!
- Garnish with Mint: Add a sprig of fresh mint on top of your serving dish for a pop of color and a refreshing aroma. It’s a simple touch that makes a big difference!
These serving suggestions are all about making your Kool-Aid Sour Grapes shine. Whether it’s a casual family snack or a festive party treat, a little creativity goes a long way. I can’t wait for you to try these ideas and see how they bring your delicious creation to life!
Tips for Making the Best Kool-Aid Sour Grapes Recipe
As I’ve enjoyed making Kool-Aid Sour Grapes over the years, I’ve gathered a treasure trove of tips that can help you elevate your experience. These little nuggets of wisdom can make a big difference in the final result, ensuring that every bite is bursting with flavor and fun!
- Choose the Right Grapes: Opt for grapes that are in season. They’ll be sweeter and juicier, making your treats even more delightful. I always look for grapes that are firm and have a nice shine.
- Mix It Up: Don’t hesitate to experiment with different Kool-Aid flavors. Mixing flavors can create a unique taste that surprises your palate. I once combined grape and lemon-lime, and it was a hit!
- Get Creative with Coating: If you want a thicker coating, try letting the grapes sit in the Kool-Aid mixture for a few minutes before tossing them in the sugar. This extra time allows the flavors to really soak in.
- Chill Longer for Better Flavor: If you can, let the coated grapes chill overnight. The flavors deepen, and they become even more refreshing. Trust me, it’s worth the wait!
- Have Fun with Presentation: Use colorful bowls or fun serving dishes to make your Kool-Aid Sour Grapes pop. A little creativity in presentation can make your treats even more inviting!
These tips are like little secrets I’ve learned along my culinary journey. They can help you create the best Kool-Aid Sour Grapes that will leave everyone asking for more. So, roll up your sleeves, get creative, and enjoy the process of making these delightful treats!
Breakdown of Time for Kool-Aid Sour Grapes Recipe
When it comes to making Kool-Aid Sour Grapes, one of the best parts is how quick and easy the process is! I love that I can whip up this delightful treat in no time. Here’s a simple breakdown of the time you’ll need:
- Prep Time: 15 minutes – This includes gathering your ingredients, washing the grapes, and mixing the Kool-Aid coating.
- Chilling Time: 1 hour – This is essential for letting the flavors meld and for that refreshing bite!
- Total Time: 1 hour and 15 minutes – In just over an hour, you’ll have a delicious bowl of Kool-Aid Sour Grapes ready to enjoy!
With such a short time commitment, it’s easy to fit this fun recipe into your day. Whether you’re preparing for a party or just want a tasty snack, you’ll be amazed at how quickly these vibrant treats come together. I can’t wait for you to experience the joy of making and sharing these delightful bites!
Nutritional Information for Kool-Aid Sour Grapes Recipe
As a home cook, I always find it helpful to know the nutritional value of the treats I make. While Kool-Aid Sour Grapes are a fun and sweet snack, they also pack a punch in terms of flavor! Here’s a quick breakdown of the nutritional information per serving (approximately 1 cup of coated grapes):
- Calories: 150
- Total Fat: 0g
- Sodium: 5mg
- Total Carbohydrates: 38g
- Dietary Fiber: 1g
- Sugars: 30g
- Protein: 1g
Keep in mind that these values can vary based on the specific ingredients you use, especially the type of Kool-Aid and the amount of sugar. If you’re looking to make a healthier version, consider reducing the sugar or using a sugar substitute. Regardless, these Kool-Aid Sour Grapes are a delightful treat that can be enjoyed in moderation!
Frequently Asked Questions about Kool-Aid Sour Grapes Recipe
As I’ve shared my Kool-Aid Sour Grapes recipe with friends and family, I’ve noticed a few common questions pop up. It’s always great to clarify any doubts, especially when it comes to creating such a fun treat! Here are some of the most frequently asked questions I’ve encountered, along with my answers:
Can I use frozen grapes for this recipe?
Absolutely! Using frozen grapes can add a refreshing twist to your Kool-Aid Sour Grapes. Just keep in mind that they may not hold the coating as well as fresh grapes. If you choose to go this route, let them thaw slightly before coating them to ensure the flavors stick!
How long do Kool-Aid Sour Grapes last?
These delightful treats are best enjoyed fresh, but they can last in the fridge for about 2-3 days. Just store them in an airtight container to keep them from getting soggy. However, the coating may lose its crunch over time, so I recommend enjoying them as soon as possible!
Can I use sugar substitutes in this recipe?
Yes, you can! If you’re looking to cut down on sugar, feel free to use a sugar substitute that measures like sugar. Just keep in mind that the flavor and texture may vary slightly, but it’s a great way to make a healthier version of this treat!
What other fruits can I coat with Kool-Aid?
The possibilities are endless! While grapes are the star of this recipe, you can also try coating strawberries, apple slices, or even pineapple chunks. Each fruit brings its own unique flavor and texture, making for a fun and colorful snack!
Can I make Kool-Aid Sour Grapes ahead of time?
Yes, you can prepare the grapes a day in advance! Just coat them and let them chill in the fridge. This allows the flavors to meld beautifully. Just remember to serve them cold for the best experience!
These FAQs are just a glimpse into the wonderful world of Kool-Aid Sour Grapes. I hope they help you feel more confident as you embark on your culinary adventure. If you have any other questions, feel free to reach out! Happy cooking!
Conclusion on Kool-Aid Sour Grapes Recipe
In conclusion, the Kool-Aid Sour Grapes recipe is not just a treat; it’s an experience filled with joy, creativity, and a burst of flavor! As a passionate home cook, I find immense satisfaction in transforming simple ingredients into something extraordinary. These vibrant, tangy bites are perfect for any occasion, whether it’s a sunny picnic, a birthday party, or just a fun snack at home.
The beauty of this recipe lies in its simplicity and versatility. With just a few ingredients, you can create a delightful treat that appeals to both kids and adults alike. Plus, the opportunity to experiment with different flavors and variations makes it a culinary adventure that never gets old. I love how each batch can be unique, reflecting your personal taste and creativity.
So, gather your ingredients, roll up your sleeves, and dive into the world of Kool-Aid Sour Grapes. I promise you’ll be rewarded with smiles, laughter, and a delicious snack that’s sure to impress. Happy cooking, and may your kitchen always be filled with love and flavor!


