Introduction to Coleslaw
Ah, coleslaw! Just the mention of it brings back memories of summer barbecues and family picnics. I can still picture my grandmother, her apron dusted with flour, tossing together a vibrant bowl of this crunchy delight. It was her secret weapon, a dish that could brighten any meal and bring smiles to our faces. I remember how she would always say, “A good coleslaw is like a hug in a bowl.” And she was right!
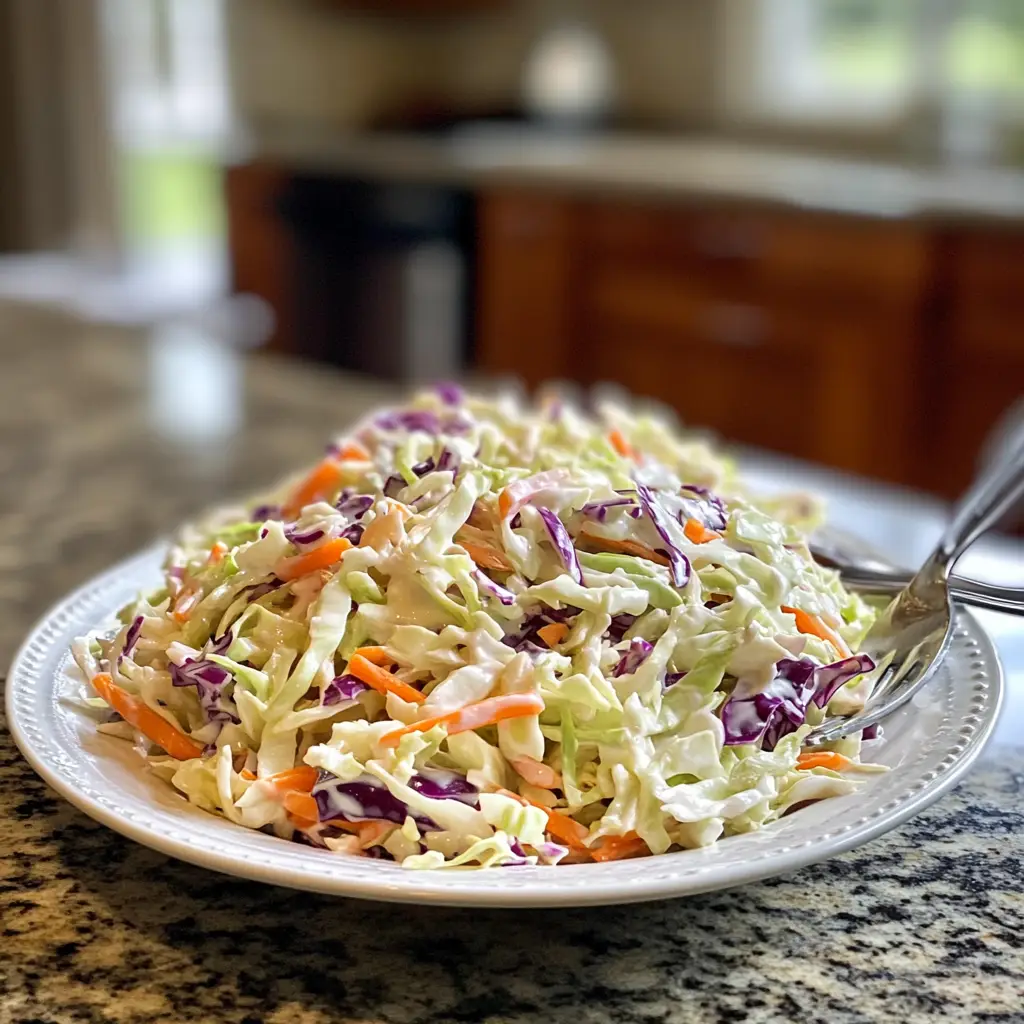
Coleslaw is more than just a side dish; it’s a celebration of fresh vegetables and zesty flavors. The crispness of cabbage, the sweetness of carrots, and the tangy dressing come together in a symphony of taste and texture. It’s a dish that can be as simple or as elaborate as you want it to be. Whether you’re serving it alongside grilled burgers or as a topping for tacos, coleslaw has a way of making everything feel a little more special.
What I love most about coleslaw is its versatility. You can play with the ingredients, adding your favorite flavors or even experimenting with different dressings. I’ve tried everything from a classic mayo-based dressing to a zesty vinaigrette, and each version has its own charm. It’s like a blank canvas waiting for your culinary creativity!
In this article, I’ll share my go-to coleslaw recipe, along with tips and tricks that I’ve picked up over the years. Whether you’re a seasoned cook or just starting out, I promise you’ll find joy in making this dish. So, grab your knife and cutting board, and let’s dive into the world of coleslaw together!
Ingredients for Coleslaw
When it comes to making coleslaw, the ingredients are the stars of the show! I always believe that using fresh, high-quality ingredients makes a world of difference. So, let’s gather what we need to create this crunchy masterpiece. Here’s a list of the main ingredients along with some optional add-ons to customize your coleslaw to your liking.
Main Ingredients
- 1 small head of green cabbage (about 2 pounds), finely shredded
- 2 large carrots, grated or julienned
- 1 cup mayonnaise (I prefer a creamy, full-fat version for richness)
- 2 tablespoons apple cider vinegar (for that tangy kick)
- 1 tablespoon sugar (to balance the flavors)
- Salt and pepper to taste
When selecting cabbage, look for heads that feel heavy for their size and have crisp, vibrant leaves. Fresh carrots should be firm and bright orange, as they add both color and sweetness to the dish. I often find that organic vegetables have a more robust flavor, so if you can, go for those!
Optional Add-ons
- 1/2 cup chopped green onions or chives (for a fresh, oniony flavor)
- 1/2 cup diced bell peppers (red, yellow, or orange for sweetness)
- 1/4 cup raisins or dried cranberries (for a touch of sweetness)
- 1/4 cup chopped fresh herbs like parsley or cilantro (for a burst of freshness)
- 1 teaspoon celery seed (for a classic coleslaw flavor)
Feel free to mix and match these optional ingredients based on what you have on hand or what flavors you enjoy. I once added some diced apples to my coleslaw, and it was a hit! The crunch and sweetness paired beautifully with the tangy dressing. Remember, coleslaw is all about personal preference, so don’t hesitate to get creative!
How to Prepare Coleslaw
Now that we have our ingredients ready, it’s time to roll up our sleeves and get to work! Preparing coleslaw is a straightforward process, and I promise it’s as fun as it is rewarding. Let’s break it down step by step, so you can create a coleslaw that will impress everyone at the table.
Step 1: Prepare the Vegetables
First things first, we need to get our vegetables ready. Start by washing the cabbage and carrots thoroughly. I like to remove any wilted outer leaves from the cabbage to ensure we’re working with the freshest parts. Then, finely shred the cabbage using a sharp knife or a mandoline slicer. The thinner the shreds, the better they’ll soak up the dressing!
Tips for Choosing Fresh Vegetables
- Look for cabbage heads that are heavy and firm. The leaves should be crisp and vibrant, not wilted or discolored.
- When picking carrots, choose ones that are bright orange and firm to the touch. Avoid any that feel soft or have blemishes.
- If you’re adding optional ingredients like bell peppers or green onions, make sure they are fresh and free from any soft spots.
Step 2: Make the Dressing
Next up is the dressing! In a medium bowl, combine the mayonnaise, apple cider vinegar, sugar, salt, and pepper. I like to whisk it all together until it’s smooth and creamy. The key here is to taste as you go. If you want a little more tang, add a splash more vinegar. If you prefer it sweeter, sprinkle in a bit more sugar. It’s all about finding that perfect balance!
Tips for Balancing Flavors
- Start with the base ingredients and adjust gradually. It’s easier to add more than to take away!
- Consider adding a dash of mustard or a squeeze of lemon juice for an extra layer of flavor.
- If you’re feeling adventurous, try adding a pinch of cayenne pepper for a spicy kick!
Step 3: Combine Ingredients
Now comes the fun part—mixing everything together! In a large bowl, combine the shredded cabbage, grated carrots, and any optional add-ons you’ve chosen. Pour the dressing over the top and gently toss everything together until the vegetables are well coated. I like to use my hands for this part; it feels more personal and allows me to really get in there!
Tips for Mixing
- Be gentle when mixing to avoid bruising the vegetables. You want them to stay crisp!
- Let the coleslaw sit for at least 30 minutes in the fridge before serving. This allows the flavors to meld beautifully.
- If you’re making it ahead of time, keep the dressing separate until just before serving to maintain the crunchiness of the veggies.
And there you have it! Your coleslaw is ready to shine. It’s a simple process, but the results are always delightful. I can’t wait for you to taste it!
Equipment Needed for Coleslaw
Before we dive into the delicious world of coleslaw, let’s make sure we have the right tools at our fingertips. While you don’t need fancy gadgets to whip up this dish, having a few key pieces of equipment can make the process smoother and more enjoyable. Here’s what you’ll need:
- Sharp Knife: A good knife is essential for finely shredding the cabbage and grating the carrots. If you don’t have a knife, a box grater works well too!
- Cutting Board: A sturdy cutting board provides a safe surface for chopping and slicing. I always keep mine clean and ready for action.
- Mixing Bowl: A large bowl is perfect for combining all your ingredients. I love using a glass bowl because it allows me to see the vibrant colors of the veggies.
- Whisk: A whisk is handy for mixing the dressing until it’s smooth and creamy. If you don’t have one, a fork will do just fine!
- Mandoline Slicer (optional): If you want perfectly uniform shreds of cabbage, a mandoline slicer can be a great tool. Just be careful with those blades!
Don’t worry if you don’t have all the fancy tools. I’ve made coleslaw with just a knife and a bowl, and it turned out delicious every time. The most important thing is to enjoy the process and have fun in the kitchen!
Variations of Coleslaw
Coleslaw is like a blank canvas, inviting you to paint it with your favorite flavors! Over the years, I’ve experimented with various twists on the classic recipe, and each variation has its own delightful charm. Here are a few of my favorite coleslaw variations that you might want to try:
- Asian-Inspired Coleslaw: Swap out the mayonnaise for a sesame dressing made with soy sauce, rice vinegar, and a drizzle of sesame oil. Add in some shredded napa cabbage, sliced almonds, and a sprinkle of sesame seeds for a crunchy, nutty flavor.
- Southwestern Coleslaw: Mix in black beans, corn, and diced jalapeños for a spicy kick. Use a lime vinaigrette instead of mayo to keep it light and zesty. This version pairs perfectly with grilled chicken or fish!
- Fruit-Infused Coleslaw: Add diced apples, pineapple, or even mandarin oranges for a sweet twist. A yogurt-based dressing can complement the fruit beautifully, making it a refreshing side dish for summer gatherings.
- Vegan Coleslaw: Replace the mayonnaise with a creamy cashew or tahini dressing. This version is not only dairy-free but also packed with flavor. Toss in some shredded kale for an extra nutrient boost!
These variations are just the tip of the iceberg! I encourage you to get creative and make coleslaw your own. The beauty of this dish lies in its adaptability, so don’t hesitate to mix and match ingredients based on what you love. Who knows? You might just stumble upon your new favorite coleslaw recipe!
Cooking Notes for Coleslaw
As I’ve learned through my culinary adventures, a few cooking notes can elevate your coleslaw game to new heights. Here are some tips that I always keep in mind when preparing this delightful dish:
- Chill Time: Allowing your coleslaw to chill in the fridge for at least 30 minutes before serving is crucial. This not only enhances the flavors but also helps the vegetables soften slightly, making them even more enjoyable.
- Make Ahead: If you’re planning for a gathering, coleslaw is a fantastic make-ahead dish. Just remember to keep the dressing separate until you’re ready to serve. This keeps the veggies crisp and fresh!
- Seasoning: Don’t forget to taste and adjust the seasoning! Sometimes, a little extra salt or a splash of vinegar can make all the difference. I always encourage a little taste test before serving.
- Storage: Store any leftovers in an airtight container in the fridge. It usually lasts for about 3 days, but I find that the crunchiness diminishes over time. So, enjoy it while it’s fresh!
These simple notes can help you create a coleslaw that’s not only delicious but also memorable. I can’t wait for you to try these tips and see how they transform your dish!
Serving Suggestions for Coleslaw
Now that your coleslaw is ready, it’s time to think about how to serve it! I love to get creative with presentation, as it can make even the simplest dish feel special. Here are some of my favorite serving suggestions that will have everyone reaching for seconds:
- As a Side Dish: Coleslaw pairs beautifully with grilled meats, like burgers, hot dogs, or barbecue chicken. The crunchiness complements the smoky flavors perfectly!
- On Tacos: Try adding a scoop of coleslaw on top of fish or pulled pork tacos. The tangy crunch adds a delightful contrast to the savory fillings.
- In Sandwiches: Use coleslaw as a topping for sandwiches or wraps. It adds a refreshing crunch that elevates the entire meal.
- As a Salad Base: Serve coleslaw on a bed of mixed greens for a colorful salad. You can even add some grilled chicken or chickpeas for a heartier option.
- In a Picnic Spread: Coleslaw is a must-have for any picnic or potluck. It’s easy to transport and always a crowd-pleaser!
These serving ideas are just the beginning! I encourage you to think outside the box and find your own favorite ways to enjoy coleslaw. Whether it’s a casual family dinner or a festive gathering, this dish is sure to bring joy to the table!
Tips for Perfect Coleslaw
Creating the perfect coleslaw is all about attention to detail and a sprinkle of love! Over the years, I’ve gathered a few tips that have helped me elevate my coleslaw game. Here’s what I’ve learned:
- Use Fresh Ingredients: Freshness is key! Always opt for the freshest cabbage and carrots you can find. The crunchier, the better!
- Shred Uniformly: Aim for even shreds of cabbage and carrots. This ensures that every bite is balanced and enjoyable. A mandoline slicer can help achieve this.
- Dress Just Before Serving: If you want to keep your coleslaw crisp, dress it just before serving. This prevents the vegetables from wilting and losing their delightful crunch.
- Experiment with Flavors: Don’t be afraid to play with flavors! Add spices, herbs, or even a splash of hot sauce to give your coleslaw a unique twist.
- Let It Rest: Allowing your coleslaw to sit for a bit before serving helps the flavors meld together beautifully. A little patience goes a long way!
With these tips in your back pocket, you’ll be well on your way to making coleslaw that not only tastes amazing but also impresses everyone at the table. Happy cooking!
Breakdown of Time for Coleslaw
Now that we’ve covered the ingredients and preparation steps, let’s talk about the time it takes to whip up this delightful coleslaw. I always find it helpful to have a clear idea of how long each part of the process will take. Here’s a quick breakdown:
- Prep Time: 15 minutes – This includes washing, shredding the cabbage, grating the carrots, and making the dressing. It’s a quick and enjoyable process!
- Chill Time: 30 minutes – Allowing your coleslaw to chill in the fridge is essential for flavor development. Trust me, it’s worth the wait!
- Total Time: 45 minutes – In just under an hour, you can have a delicious bowl of coleslaw ready to serve!
With this time breakdown, you can easily plan your cooking schedule. Whether you’re preparing for a family dinner or a summer barbecue, knowing how long it takes to make coleslaw helps keep everything running smoothly. I can’t wait for you to enjoy this crunchy, tangy dish!
Nutritional Information for Coleslaw
As a passionate home cook, I always find it important to know what I’m putting into my body, and coleslaw is no exception! This crunchy dish not only delights the taste buds but also offers some nutritional benefits. Here’s a quick look at the nutritional information for a standard serving of coleslaw made with the ingredients listed earlier:
- Calories: Approximately 150 calories per serving (1 cup)
- Fat: 10 grams (mostly from mayonnaise)
- Carbohydrates: 15 grams
- Fiber: 3 grams
- Sugar: 3 grams (natural sugars from vegetables)
- Protein: 2 grams
Coleslaw is a great source of vitamins A and C, thanks to the fresh cabbage and carrots. These nutrients are essential for maintaining healthy skin and boosting your immune system. Plus, the fiber content helps with digestion, making coleslaw a satisfying addition to your meals.
Of course, the nutritional values can vary based on the ingredients you choose. If you opt for a lighter dressing or add more veggies, you can easily adjust the calorie count. I love to play around with the ingredients to make it fit my dietary needs while still keeping it delicious!
So, whether you’re enjoying coleslaw as a side dish or a topping, you can feel good about indulging in this crunchy delight. It’s a tasty way to add some nutrition to your plate!
Frequently Asked Questions about Coleslaw
As I’ve shared my love for coleslaw, I often get questions from friends and family about this delightful dish. It seems that coleslaw sparks curiosity, and I’m always happy to help! Here are some of the most frequently asked questions I encounter, along with my answers:
Can I make coleslaw ahead of time?
Absolutely! Coleslaw is a fantastic make-ahead dish. You can prepare it a day in advance and store it in the fridge. Just remember to keep the dressing separate until you’re ready to serve. This way, the veggies stay crisp and fresh!
What can I use instead of mayonnaise?
If you’re looking for a lighter option or have dietary restrictions, there are plenty of alternatives! You can use Greek yogurt for a creamy texture, or try a vinaigrette made with olive oil and vinegar for a tangy twist. I’ve even made coleslaw with tahini dressing, and it was delicious!
How long does coleslaw last in the fridge?
When stored in an airtight container, coleslaw typically lasts about 3 days in the fridge. However, the crunchiness of the vegetables may diminish over time. I recommend enjoying it while it’s fresh for the best taste and texture!
Can I freeze coleslaw?
Freezing coleslaw isn’t the best idea, as the texture of the vegetables can become mushy once thawed. If you want to prepare it in advance, I suggest making the dressing and chopping the veggies separately. You can freeze the dressing and then mix it with fresh veggies when you’re ready to serve!
What are some creative ways to use leftover coleslaw?
Leftover coleslaw can be a delightful addition to many dishes! I love using it as a topping for sandwiches or wraps. You can also mix it into tacos or serve it alongside grilled meats. Another fun idea is to toss it into a stir-fry for a crunchy texture. The possibilities are endless!
These questions reflect the curiosity and excitement that coleslaw brings to the table. I hope my answers help you feel more confident in your coleslaw-making adventures. If you have any other questions, don’t hesitate to reach out! Happy cooking!
Conclusion on Coleslaw
As we wrap up our journey through the world of coleslaw, I can’t help but feel a sense of joy. This dish is more than just a simple side; it’s a celebration of fresh ingredients, vibrant flavors, and endless possibilities. Whether you’re enjoying it at a summer barbecue, a cozy family dinner, or a festive gathering, coleslaw has a unique way of bringing people together.
What I love most about coleslaw is its adaptability. You can customize it to suit your taste, whether you prefer a classic creamy version or a zesty, vinaigrette-based twist. The crunch of the cabbage and the sweetness of the carrots create a delightful contrast that complements a variety of meals. Plus, it’s a great way to sneak in some extra veggies!
So, whether you’re a seasoned cook or just starting out, I encourage you to embrace the art of coleslaw-making. With a few simple ingredients and a sprinkle of creativity, you can create a dish that not only tastes amazing but also brings smiles to the faces of those you share it with. Happy cooking, and may your coleslaw adventures be as delicious as they are fun!


