Introduction to Cheesy Garlic Butter Rollups
Ah, the aroma of garlic wafting through the kitchen! It’s like a warm hug on a chilly day. I remember the first time I made Cheesy Garlic Butter Rollups. It was a rainy afternoon, and I was craving something comforting yet simple. I rummaged through my pantry and found a few ingredients that sparked my creativity. The result? A delightful treat that quickly became a family favorite!
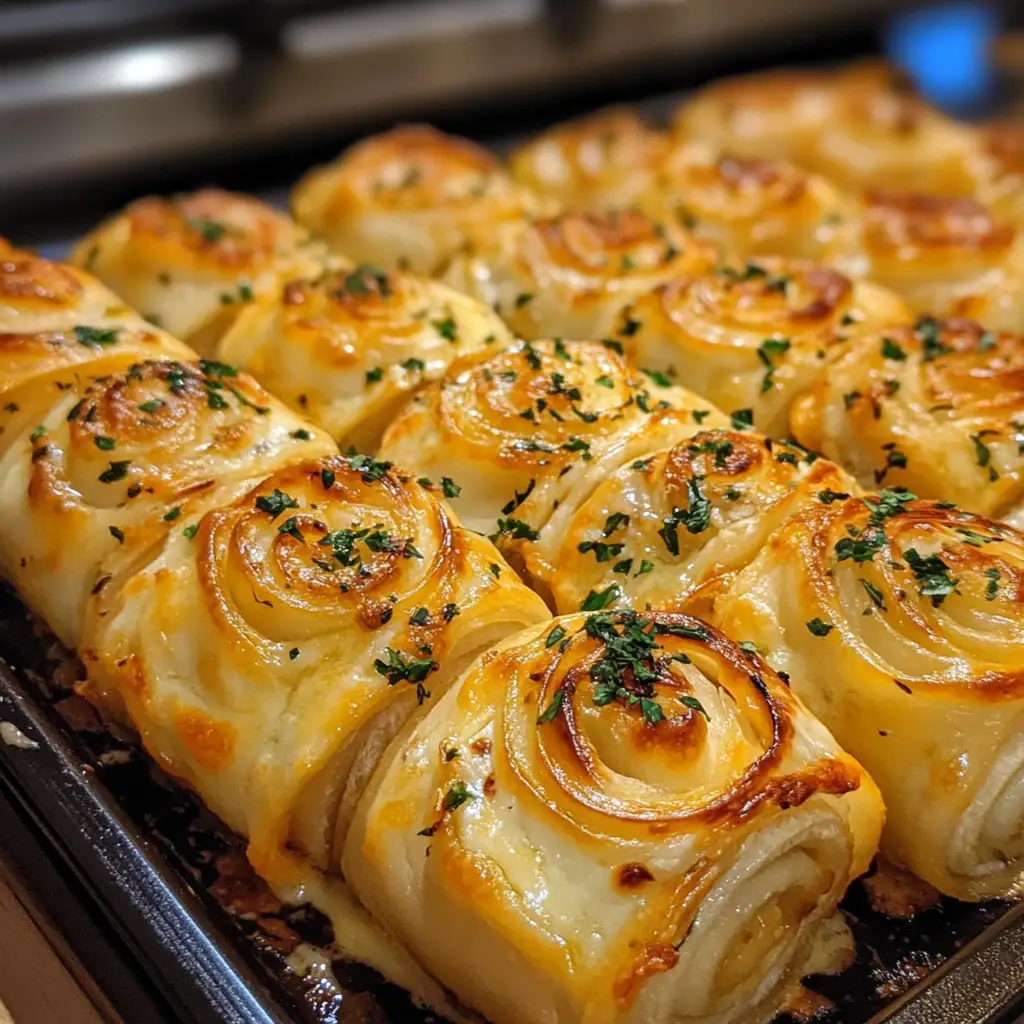
These rollups are not just any ordinary snack; they are a symphony of flavors wrapped in soft, pillowy dough. Imagine biting into a warm roll, the gooey cheese melting in your mouth, while the rich garlic butter dances on your taste buds. It’s pure bliss! I often whip these up for gatherings, and they disappear faster than I can say “cheesy.”
What I love most about this recipe is its versatility. You can serve them as an appetizer, a side dish, or even a snack while binge-watching your favorite show. Plus, they’re incredibly easy to make, which means you can enjoy them without spending hours in the kitchen. So, grab your apron, and let’s dive into the world of Cheesy Garlic Butter Rollups! I promise you won’t regret it.
Ingredients for Cheesy Garlic Butter Rollups
Before we embark on this delicious journey, let’s gather our ingredients. Having everything ready makes the cooking process smoother and more enjoyable. Trust me, there’s nothing worse than realizing you’re missing a key ingredient halfway through! Here’s what you’ll need for these scrumptious Cheesy Garlic Butter Rollups.
Main Ingredients
- 2 cups all-purpose flour
- 1 tablespoon sugar
- 1 tablespoon baking powder
- 1 teaspoon salt
- 1/2 cup unsalted butter, melted
- 3/4 cup milk
- 1 cup shredded mozzarella cheese
- 1/2 cup grated Parmesan cheese
- 4 cloves garlic, minced
- 1/4 cup fresh parsley, chopped (optional for garnish)
When choosing your ingredients, I always recommend going for high-quality butter and fresh garlic. The flavor of fresh garlic is unbeatable, and it really elevates the taste of the rollups. If you can, opt for whole milk for a richer dough, but any milk will do in a pinch!
Optional Add-ons
- 1 teaspoon Italian seasoning for an extra flavor kick
- Chili flakes for a spicy twist
- Other cheeses like cheddar or gouda for a different flavor profile
- Cooked bacon bits for a savory crunch
Feel free to get creative! I often toss in some chili flakes when I’m in the mood for a little heat. And if you have leftover herbs from your garden, sprinkle them in! The beauty of Cheesy Garlic Butter Rollups is that they can be tailored to your taste. So, let your imagination run wild!
How to Prepare Cheesy Garlic Butter Rollups
Now that we have our ingredients ready, it’s time to roll up our sleeves and get cooking! Making Cheesy Garlic Butter Rollups is a fun and rewarding experience. I love the way the kitchen fills with mouthwatering scents as I prepare these delightful bites. Let’s break it down step by step!
Step 1: Prepare the Dough
First things first, we need to create a soft and fluffy dough. In a large mixing bowl, combine the flour, sugar, baking powder, and salt. Mix them well to ensure even distribution. Then, add the melted butter and milk. Stir until the dough comes together. It should be slightly sticky but manageable.
Tips for Step 1
- Don’t overmix the dough! Just mix until everything is combined. Overworking it can lead to tough rollups.
- If the dough feels too sticky, sprinkle a little extra flour on your work surface while kneading.
Step 2: Make the Garlic Butter Mixture
Next up, let’s whip up that heavenly garlic butter! In a small bowl, combine the minced garlic and melted butter. Mix them together until the garlic is evenly distributed. This mixture is what will give our rollups that irresistible flavor.
Tips for Step 2
- For an extra punch, let the garlic sit in the butter for a few minutes before using it. This allows the flavors to meld beautifully.
- Feel free to add a pinch of salt or Italian seasoning to the garlic butter for an added flavor boost!
Step 3: Assemble the Rollups
Now comes the fun part! On a floured surface, roll out the dough into a rectangle, about 1/4 inch thick. Brush a generous amount of the garlic butter mixture over the dough, leaving a small border around the edges. Then, sprinkle the mozzarella and Parmesan cheese evenly on top. Roll the dough tightly from one end to the other, creating a log shape.
Tips for Step 3
- Make sure to roll tightly but not too tight, or the cheese won’t have room to melt and ooze out!
- Use a sharp knife to cut the log into equal pieces, about 1 to 1.5 inches thick. This ensures even baking.
Step 4: Bake the Rollups
Finally, it’s time to bake! Preheat your oven to 375°F (190°C). Place the rollups on a baking sheet lined with parchment paper, cut side up. Brush the remaining garlic butter on top of each rollup for that golden finish. Bake for about 15-20 minutes, or until they are puffed and golden brown.
Tips for Step 4
- Keep an eye on them towards the end of baking. Ovens can vary, and you want them perfectly golden, not burnt!
- For an extra touch, sprinkle some fresh parsley on top right after they come out of the oven. It adds a pop of color and freshness!
Equipment Needed for Cheesy Garlic Butter Rollups
Before we dive into the deliciousness of Cheesy Garlic Butter Rollups, let’s make sure we have the right tools at our disposal. Having the right equipment can make the cooking process smoother and more enjoyable. Here’s what you’ll need:
- Mixing Bowls: A large bowl for mixing the dough and a smaller one for the garlic butter mixture. If you don’t have mixing bowls, any large container will do!
- Rolling Pin: This is essential for rolling out the dough. If you don’t have one, a clean wine bottle can work in a pinch!
- Sharp Knife: You’ll need this to cut the rolled dough into pieces. A pizza cutter can also do the trick if you have one handy.
- Baking Sheet: A standard baking sheet lined with parchment paper is perfect for baking the rollups. If you don’t have parchment paper, greasing the baking sheet will work just fine.
- Pastry Brush: This is great for brushing the garlic butter on the dough and rollups. If you don’t have one, a spoon can be used to drizzle the butter instead.
With these tools in hand, you’re all set to create your own batch of Cheesy Garlic Butter Rollups. Cooking should be fun and stress-free, so don’t worry if you need to get a little creative with your equipment. Let’s get rolling!
Variations of Cheesy Garlic Butter Rollups
One of the things I adore about Cheesy Garlic Butter Rollups is their flexibility. You can easily switch things up to suit your taste or the occasion. Here are a few variations that I’ve tried and loved:
- Herb-Infused Rollups: Add fresh herbs like rosemary or thyme to the dough for an aromatic twist. The fragrance will fill your kitchen and elevate the flavor!
- Spinach and Feta: For a Mediterranean flair, mix in some sautéed spinach and crumbled feta cheese with the mozzarella. It’s a delightful combination that adds a burst of color and taste.
- Buffalo Chicken Rollups: If you’re a fan of spicy food, try adding shredded cooked chicken tossed in buffalo sauce. It’s a game-changer for those who love a kick!
- Sweet Cinnamon Rollups: For a dessert version, skip the garlic and cheese. Instead, spread a mixture of butter, sugar, and cinnamon on the dough before rolling it up. Drizzle with icing after baking for a sweet treat!
These variations not only keep things exciting but also allow you to cater to different palates. I often experiment with whatever I have on hand, and it’s amazing how a few simple changes can create a whole new experience. So, don’t hesitate to get creative and make these rollups your own!
Cooking Notes for Cheesy Garlic Butter Rollups
As I’ve learned through my culinary adventures, a few cooking notes can make all the difference when preparing Cheesy Garlic Butter Rollups. Here are some tips that I’ve gathered over time to ensure your rollups turn out perfectly every time:
- Room Temperature Ingredients: For the best results, make sure your butter and milk are at room temperature. This helps the dough come together smoothly and creates a fluffier texture.
- Don’t Rush the Rising: If you have the time, let the assembled rollups rest for about 10 minutes before baking. This allows the dough to relax and can lead to a lighter rollup.
- Experiment with Cheese: While mozzarella and Parmesan are classic choices, don’t hesitate to try different cheeses. A mix of gouda and cheddar can add a delightful twist!
- Storage Tips: If you have leftovers (which is rare in my house!), store them in an airtight container in the fridge. Reheat them in the oven for a few minutes to regain that fresh-baked taste.
These little notes have helped me refine my technique and enjoy the process even more. Cooking is all about learning and adapting, so don’t be afraid to make these rollups your own. Happy cooking!
Serving Suggestions for Cheesy Garlic Butter Rollups
When it comes to serving Cheesy Garlic Butter Rollups, the possibilities are as endless as my love for cooking! These delightful bites can shine in various settings, whether it’s a cozy family dinner or a lively gathering with friends. Here are some of my favorite ways to serve them:
- As an Appetizer: Serve the rollups warm with a side of marinara sauce for dipping. The combination of gooey cheese and tangy sauce is simply irresistible!
- With a Salad: Pair them with a fresh garden salad drizzled with a light vinaigrette. The contrast of flavors and textures makes for a satisfying meal.
- For Game Day: These rollups are perfect for game day snacking! Set them out on a platter with a variety of dips, like ranch or garlic aioli, and watch them disappear.
- As a Side Dish: They make a fantastic side for pasta dishes or grilled meats. The cheesy goodness complements almost any main course beautifully.
- With a Movie Night: Enjoy them as a cozy snack while binge-watching your favorite series. Trust me, they’ll elevate your movie night to a whole new level!
Whatever the occasion, Cheesy Garlic Butter Rollups are sure to impress. I love how they bring people together, sparking joy and delicious conversations around the table. So, get creative with your serving ideas, and let the rollups be the star of your next meal!
Tips for Perfect Cheesy Garlic Butter Rollups
As a passionate home cook, I’ve learned that a few simple tips can elevate your Cheesy Garlic Butter Rollups from good to absolutely unforgettable. Here are my top secrets to ensure your rollups turn out perfectly every time:
- Measure Accurately: Baking is a science, so precise measurements are key. Use a kitchen scale if you have one, or make sure to level off your measuring cups for flour and sugar.
- Chill the Dough: If you have time, let the dough chill in the fridge for about 30 minutes. This helps the butter firm up, resulting in a flakier texture when baked.
- Don’t Skip the Garlic Butter: Generously brush the garlic butter on both the dough and the baked rollups. This adds a rich flavor that’s hard to resist!
- Experiment with Toppings: Before baking, sprinkle some extra cheese or herbs on top of the rollups for an added burst of flavor and a beautiful presentation.
- Serve Immediately: These rollups are best enjoyed fresh out of the oven. The cheese is gooey, and the garlic butter is warm, making each bite a heavenly experience!
With these tips in your back pocket, you’re well on your way to creating the most delightful Cheesy Garlic Butter Rollups. Remember, cooking is all about having fun and experimenting, so don’t hesitate to make these rollups your own. Happy baking!
Breakdown of Time for Cheesy Garlic Butter Rollups
When it comes to making Cheesy Garlic Butter Rollups, timing is everything! I love how this recipe fits perfectly into a busy day, allowing me to whip up something delicious without spending hours in the kitchen. Here’s a quick breakdown of the time you’ll need:
- Prep Time: Approximately 20 minutes. This includes gathering your ingredients, preparing the dough, and making the garlic butter mixture.
- Cooking Time: About 15-20 minutes. This is the time it takes for the rollups to bake to golden perfection in the oven.
- Total Time: Roughly 35-40 minutes. In less than an hour, you can have a warm, cheesy treat ready to enjoy!
With this quick timeline, you can easily fit Cheesy Garlic Butter Rollups into your meal planning. Whether it’s a weeknight dinner or a last-minute snack for guests, you’ll be amazed at how fast and simple it is to create these delightful bites. So, set your timer and get ready for some cheesy goodness!
Nutritional Information for Cheesy Garlic Butter Rollups
As a passionate home cook, I always find it helpful to know the nutritional value of the dishes I prepare. While Cheesy Garlic Butter Rollups are undeniably delicious, they also provide a satisfying balance of flavors and nutrients. Here’s a general breakdown of the nutritional information per rollup, assuming you make about 12 rollups from the recipe:
- Calories: Approximately 150-180 calories
- Protein: 5-6 grams
- Carbohydrates: 20-22 grams
- Fat: 7-9 grams
- Saturated Fat: 4-5 grams
- Sodium: 200-250 mg
- Fiber: 0.5-1 gram
Keep in mind that these values can vary based on the specific ingredients you use and any optional add-ons you choose to include. For instance, using whole milk or adding extra cheese will increase the calorie count. However, the joy of cooking is about balance! Enjoy these rollups as a treat, and don’t hesitate to pair them with a fresh salad or veggies to round out your meal. After all, cooking is about savoring every bite while nourishing our bodies!
Frequently Asked Questions about Cheesy Garlic Butter Rollups
As I’ve shared my love for Cheesy Garlic Butter Rollups, I often get questions from fellow home cooks eager to try this delightful recipe. Here are some of the most common queries I’ve encountered, along with my answers to help you on your culinary journey!
Can I make the dough ahead of time?
Absolutely! You can prepare the dough in advance and store it in the refrigerator for up to 24 hours. Just make sure to wrap it tightly in plastic wrap. When you’re ready to bake, let it sit at room temperature for about 15 minutes before rolling it out. This will make it easier to work with!
What can I use instead of mozzarella cheese?
If you’re looking to switch things up, there are plenty of alternatives! Cheddar, gouda, or even a blend of your favorite cheeses can work beautifully. Just keep in mind that different cheeses will bring their unique flavors to the rollups, so choose what you love!
How do I store leftovers?
Leftovers? If you’re lucky enough to have any, store them in an airtight container in the fridge for up to 3 days. To reheat, pop them in the oven at 350°F (175°C) for about 5-10 minutes. This will help restore that gooey cheese and warm garlic butter goodness!
Can I freeze the rollups?
Yes, you can freeze them! After assembling the rollups but before baking, place them on a baking sheet and freeze until solid. Then, transfer them to a freezer-safe bag or container. When you’re ready to enjoy, bake them straight from the freezer, adding a few extra minutes to the cooking time.
What can I serve with Cheesy Garlic Butter Rollups?
The options are endless! I love serving them with marinara sauce for dipping, a fresh garden salad, or even as a side to pasta dishes. They also make a fantastic snack for game day or movie night. Get creative and pair them with whatever you enjoy!
These questions reflect the curiosity and excitement that comes with trying out a new recipe. I hope my answers help you feel more confident in making Cheesy Garlic Butter Rollups. Remember, cooking is all about experimenting and having fun, so don’t hesitate to make this recipe your own!
Conclusion on Cheesy Garlic Butter Rollups
In the world of comfort food, Cheesy Garlic Butter Rollups hold a special place in my heart. They are not just a recipe; they are a delightful experience that brings warmth and joy to any gathering. The combination of gooey cheese and rich garlic butter wrapped in soft, fluffy dough creates a flavor explosion that’s hard to resist.
What I love most about these rollups is their versatility. Whether you’re serving them as an appetizer, a side dish, or a cozy snack, they never fail to impress. Plus, they are incredibly easy to make, allowing you to whip up a batch in no time. With a few simple ingredients and a sprinkle of creativity, you can customize them to suit your taste and occasion.
So, the next time you’re looking for a dish that’s sure to please, remember these Cheesy Garlic Butter Rollups. They are perfect for sharing with family and friends, and I guarantee they will become a beloved staple in your kitchen. Happy cooking, and may your rollups always be cheesy and delicious!


