Introduction to Cheddar Garlic Pinwheels
Ah, Cheddar Garlic Pinwheels! Just the name makes my mouth water. I remember the first time I made these delightful bites. It was a chilly evening, and I wanted something warm and cheesy to share with my family. As I rolled out the dough and spread the garlic-infused goodness, the aroma filled my kitchen like a cozy hug. It was a moment of pure culinary magic!
These pinwheels are not just a treat for the taste buds; they are a celebration of flavors. The sharpness of cheddar cheese dances with the rich, buttery notes of garlic, creating a symphony that sings in every bite. I often find myself making these for gatherings, and they never fail to impress. Friends and family gather around, eagerly waiting for the first batch to come out of the oven, and I can’t help but smile at their excitement.
What I love most about Cheddar Garlic Pinwheels is their versatility. They can be served as an appetizer, a snack, or even a side dish. Plus, they are incredibly easy to make! Whether you’re a seasoned chef or a kitchen newbie, I promise you’ll find joy in crafting these little spirals of happiness. So, let’s roll up our sleeves and dive into the world of Cheddar Garlic Pinwheels. Trust me, your taste buds will thank you!
Ingredients for Cheddar Garlic Pinwheels
Before we embark on this delicious journey, let’s gather our ingredients. Having everything ready makes the cooking process smoother and more enjoyable. I always find that when I have my ingredients prepped, it feels like I’m setting the stage for a delightful performance in the kitchen!
Main Ingredients
- 1 cup all-purpose flour
- 1/2 teaspoon baking powder
- 1/4 teaspoon salt
- 1/4 cup unsalted butter, softened
- 1/2 cup shredded sharp cheddar cheese
- 2 cloves garlic, minced (or 1 teaspoon garlic powder)
- 1/4 cup milk
When it comes to the cheese, I always opt for freshly shredded cheddar. It melts beautifully and has a richer flavor than pre-shredded varieties. If you can find it, go for a sharp cheddar; it adds a delightful kick that pairs perfectly with the garlic.
Optional Add-ons
- 1/4 teaspoon red pepper flakes (for a spicy kick)
- 1 tablespoon fresh herbs (like parsley or chives, finely chopped)
- 1/4 cup cooked bacon bits (for a savory twist)
- 1/4 cup cream cheese (for a creamier filling)
Feel free to get creative! I love adding fresh herbs from my garden when they’re in season. They not only enhance the flavor but also add a pop of color to the pinwheels. And if you’re a bacon lover like me, those crispy bits can take these pinwheels to a whole new level!
How to Prepare Cheddar Garlic Pinwheels
Now that we have our ingredients ready, it’s time to roll up our sleeves and get cooking! Making Cheddar Garlic Pinwheels is a fun and rewarding process. I love how each step brings us closer to that cheesy, garlicky goodness. Let’s dive into the steps together!
Step 1: Prepare the Dough
First things first, we need to create a lovely dough that will hold all that delicious filling. In a mixing bowl, combine the flour, baking powder, and salt. Then, add the softened butter. I like to use my fingers to mix it in until it resembles coarse crumbs. It’s like playing with dough, and it’s so satisfying!
Tips for Step 1
- Make sure your butter is at room temperature. This helps it blend smoothly into the flour.
- If you want a flakier dough, try using a pastry cutter instead of your fingers.
- Don’t overmix! Just combine until it’s all together; a little bit of flour showing is okay.
Step 2: Mix the Filling
Next, let’s whip up that mouthwatering filling! In a separate bowl, mix the shredded cheddar cheese, minced garlic, and milk. If you’re adding any optional ingredients, like herbs or bacon bits, now’s the time to toss them in. I love the way the flavors meld together, creating a creamy, cheesy mixture that’s simply irresistible!
Tips for Step 2
- For a stronger garlic flavor, let the minced garlic sit for a few minutes before mixing it in.
- Feel free to adjust the cheese amount based on your preference. More cheese equals more yum!
- If you’re using cream cheese, make sure it’s softened for easy mixing.
Step 3: Assemble the Pinwheels
Now comes the fun part—assembling our pinwheels! Roll out the dough on a floured surface into a rectangle, about 1/4 inch thick. Spread the filling evenly over the dough, leaving a small border around the edges. Then, carefully roll the dough into a log, starting from one of the long sides. It’s like wrapping a cozy blanket around all that cheesy goodness!
Tips for Step 3
- Use a sharp knife to cut the pinwheels. This helps keep the filling intact.
- If the dough sticks, sprinkle a little more flour on the surface.
- For a prettier presentation, try to make the pinwheels uniform in size.
Step 4: Bake the Pinwheels
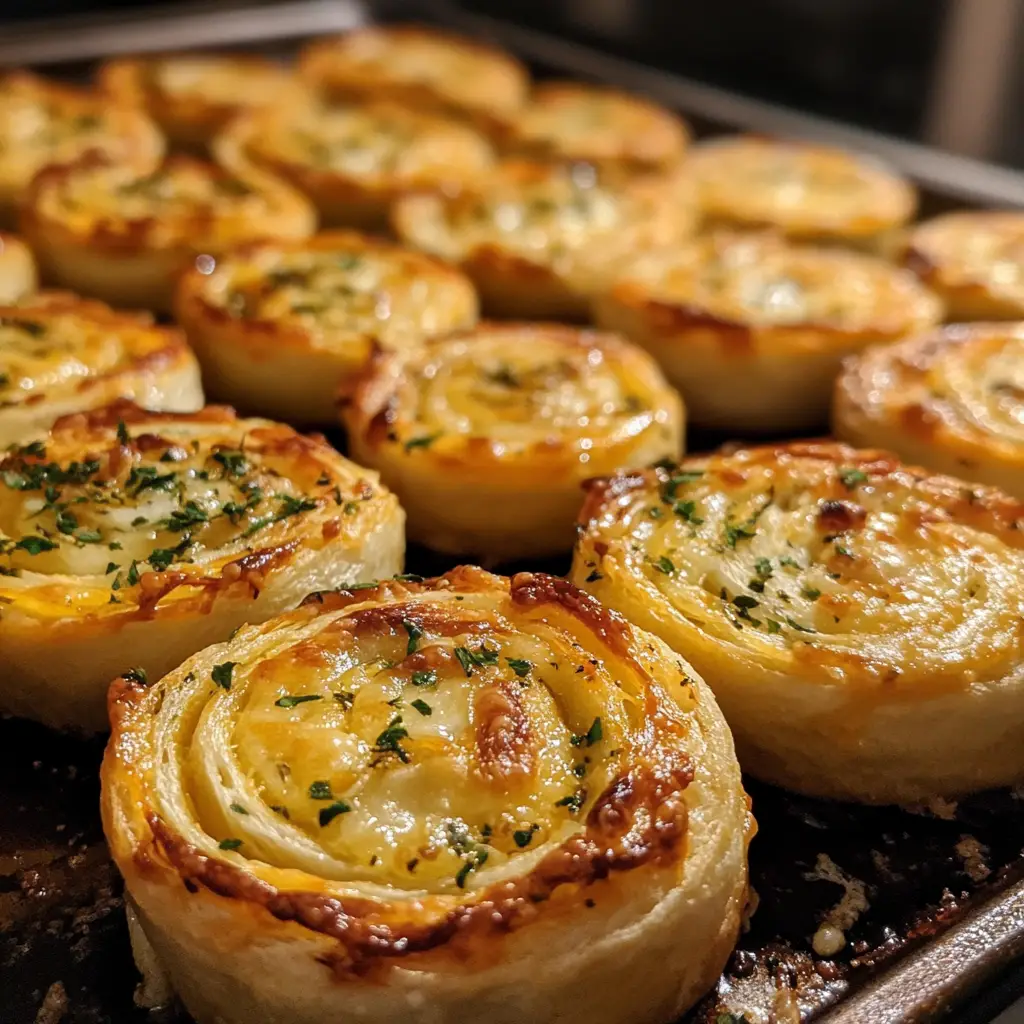
Finally, it’s time to bake! Preheat your oven to 375°F (190°C). Place the pinwheels on a baking sheet lined with parchment paper, leaving some space between them. Bake for about 15-20 minutes, or until they’re golden brown and the cheese is bubbling. The aroma will fill your kitchen, and you’ll be counting down the minutes until you can dig in!
Tips for Step 4
- Keep an eye on them towards the end of baking. Ovens can vary, and you don’t want them to burn!
- If you like a crispy top, brush the pinwheels with a little melted butter before baking.
- Let them cool for a few minutes before serving. They’ll be hot and cheesy!
Equipment Needed for Cheddar Garlic Pinwheels
Before we dive into the deliciousness of Cheddar Garlic Pinwheels, let’s make sure we have the right tools at our fingertips. Having the right equipment can make the cooking process smoother and more enjoyable. Here’s what you’ll need:
- Mixing Bowls: A couple of medium-sized mixing bowls will help you combine the dough and filling without any fuss.
- Rolling Pin: This is essential for rolling out the dough. If you don’t have one, a clean wine bottle can work in a pinch!
- Sharp Knife: A sharp knife is key for cutting the pinwheels neatly. A serrated knife can also do the trick if you have one.
- Baking Sheet: A standard baking sheet will hold your pinwheels while they bake. If you don’t have one, a large oven-safe dish can work too.
- Parchment Paper: Lining your baking sheet with parchment paper prevents sticking and makes cleanup a breeze. If you’re out of parchment, a light greasing of the baking sheet will suffice.
With these tools in hand, you’re all set to create your Cheddar Garlic Pinwheels. I always find that having everything organized makes the cooking experience feel like a delightful dance in the kitchen. So, let’s get ready to twirl those pinwheels into existence!
Variations of Cheddar Garlic Pinwheels
While I adore the classic Cheddar Garlic Pinwheels, there’s something exciting about experimenting with different flavors. Each variation brings a new twist to this beloved recipe, and I can’t help but share a few of my favorites!
- Herbed Cream Cheese Pinwheels: Swap out the cheddar for a creamy herbed cheese spread. The fresh herbs add a delightful brightness that pairs beautifully with the garlic.
- Spinach and Feta Pinwheels: For a Mediterranean flair, mix in some sautéed spinach and crumbled feta cheese. The combination of flavors is simply divine!
- Buffalo Chicken Pinwheels: If you’re a fan of spicy food, add shredded cooked chicken and buffalo sauce to the filling. It’s a zesty twist that will have your taste buds dancing!
- Sun-Dried Tomato and Basil Pinwheels: Incorporate chopped sun-dried tomatoes and fresh basil for a burst of flavor. This variation is perfect for summer gatherings!
These variations not only keep things interesting but also allow you to cater to different tastes and preferences. I love how a simple change can transform the entire experience. So, don’t hesitate to get creative and make these pinwheels your own!
Cooking Notes for Cheddar Garlic Pinwheels
As I’ve journeyed through the delightful world of Cheddar Garlic Pinwheels, I’ve picked up a few cooking notes that can make your experience even better. These little tips are like secret ingredients that can elevate your pinwheels to the next level!
- Chill the Dough: If you find the dough too sticky, try chilling it in the fridge for about 15-20 minutes. This makes it easier to roll out and handle.
- Experiment with Cheese: While sharp cheddar is my go-to, mixing in other cheeses like mozzarella or gouda can create a unique flavor profile. Don’t be afraid to mix and match!
- Storage Tips: If you have leftovers (which is rare in my house!), store them in an airtight container in the fridge. They can be reheated in the oven for a few minutes to regain their crispy texture.
- Serving Temperature: These pinwheels are best enjoyed warm, right out of the oven. The gooey cheese and fragrant garlic are at their peak deliciousness!
With these cooking notes in your back pocket, you’re all set to create the most scrumptious Cheddar Garlic Pinwheels. I can’t wait for you to experience the joy of sharing these delightful bites with your loved ones!
Serving Suggestions for Cheddar Garlic Pinwheels
When it comes to serving Cheddar Garlic Pinwheels, the possibilities are as endless as my love for cooking! These delightful bites can shine in various settings, whether it’s a cozy family dinner or a lively gathering with friends. Here are some of my favorite serving suggestions that will make your pinwheels the star of the show!
- As an Appetizer: Serve the pinwheels warm on a platter with a side of marinara or ranch dressing for dipping. The contrast of flavors will have everyone reaching for more!
- With a Salad: Pair these cheesy delights with a fresh garden salad. The crisp greens and tangy dressing balance the richness of the pinwheels beautifully.
- At a Party: Arrange the pinwheels on a charcuterie board alongside cured meats, olives, and assorted cheeses. They add a fun twist to the traditional spread!
- For Game Day: These pinwheels are perfect for game day snacking! Serve them with a selection of dips and watch them disappear as your friends cheer on their favorite team.
Whatever the occasion, Cheddar Garlic Pinwheels are sure to impress. I love how they bring people together, sparking joy and laughter around the table. So, gather your loved ones, and let the deliciousness unfold!
Tips for Making Cheddar Garlic Pinwheels
As I’ve whipped up countless batches of Cheddar Garlic Pinwheels, I’ve gathered a treasure trove of tips that can make your cooking experience even more delightful. These little nuggets of wisdom are like secret spices that can elevate your pinwheels to new heights!
- Prep Ahead: If you’re short on time, consider making the dough and filling a day in advance. Just store them separately in the fridge. When you’re ready, roll and bake for a quick treat!
- Use Fresh Ingredients: Fresh garlic and quality cheese make a world of difference. The vibrant flavors will shine through, making your pinwheels irresistible!
- Don’t Rush the Rolling: Take your time when rolling out the dough. A gentle touch ensures an even thickness, which leads to perfectly baked pinwheels.
- Experiment with Seasoning: Feel free to add your favorite spices to the filling. A pinch of Italian seasoning or a dash of smoked paprika can add a delightful twist!
- Watch the Baking Time: Every oven is different, so keep an eye on your pinwheels as they bake. You want them golden brown and bubbly, not burnt!
With these tips in your culinary toolkit, you’re all set to create Cheddar Garlic Pinwheels that will wow your family and friends. I can’t wait for you to experience the joy of sharing these cheesy delights!
Breakdown of Time for Cheddar Garlic Pinwheels
Time is of the essence in the kitchen, and knowing how long each step takes can help you plan your cooking adventure. I always find it helpful to have a clear timeline, especially when I’m preparing for a gathering. Here’s a quick breakdown of the time you’ll need to whip up these delightful Cheddar Garlic Pinwheels:
- Prep Time: Approximately 20 minutes. This includes gathering your ingredients, preparing the dough, and mixing the filling. It’s a great time to let your creativity shine!
- Cooking Time: About 15-20 minutes. This is when the magic happens in the oven, and your kitchen fills with that irresistible aroma of garlic and cheese.
- Total Time: Roughly 35-40 minutes. In less than an hour, you can have a batch of warm, cheesy pinwheels ready to impress your family and friends!
With this timeline in mind, you can easily fit these pinwheels into your day. I love how quick and simple they are to make, allowing me to spend more time enjoying the company of my loved ones. So, let’s get cooking and make some delicious memories together!
Nutritional Information for Cheddar Garlic Pinwheels
As a passionate home cook, I always find it helpful to know the nutritional value of the dishes I prepare. It allows me to enjoy my culinary creations while being mindful of what I’m eating. Here’s a quick overview of the nutritional information for a serving of Cheddar Garlic Pinwheels, which typically consists of about two pinwheels:
- Calories: Approximately 200 calories
- Protein: 6 grams
- Carbohydrates: 22 grams
- Fat: 10 grams
- Saturated Fat: 6 grams
- Sodium: 300 milligrams
- Fiber: 1 gram
Keep in mind that these values can vary based on the specific ingredients you use and any optional add-ons you choose to include. For instance, adding bacon or cream cheese will increase the calorie and fat content. I always encourage balance, so enjoy these pinwheels as part of a well-rounded meal. They’re perfect for sharing, and I promise they’ll bring smiles to the table!
Frequently Asked Questions about Cheddar Garlic Pinwheels
As I’ve shared my love for Cheddar Garlic Pinwheels, I often get questions from fellow home cooks eager to try their hand at this delightful recipe. It warms my heart to see so many people excited about cooking! Here are some of the most common questions I receive, along with my answers to help you on your culinary journey.
Can I make the dough ahead of time?
Absolutely! You can prepare the dough a day in advance. Just wrap it tightly in plastic wrap and store it in the fridge. When you’re ready to bake, let it sit at room temperature for about 10-15 minutes before rolling it out. This makes it easier to work with!
What can I substitute for cheddar cheese?
If cheddar isn’t your favorite, don’t worry! You can use mozzarella for a milder flavor or gouda for a smoky twist. Cream cheese is also a great option for a creamy filling. Feel free to mix and match based on your taste preferences!
How do I store leftover pinwheels?
Leftover Cheddar Garlic Pinwheels can be stored in an airtight container in the fridge for up to three days. To reheat, pop them in the oven at 350°F (175°C) for about 5-10 minutes. This will help restore their crispy texture!
Can I freeze Cheddar Garlic Pinwheels?
Yes, you can freeze them! I recommend freezing the unbaked pinwheels. Just roll them up, slice them, and place them on a baking sheet to freeze individually. Once frozen, transfer them to a freezer bag. When you’re ready to bake, you can cook them straight from the freezer—just add a few extra minutes to the baking time!
What dips pair well with Cheddar Garlic Pinwheels?
Oh, the possibilities are endless! I love serving them with marinara sauce for a classic touch. Ranch dressing or a zesty garlic aioli also make fantastic companions. You can even try a spicy sriracha mayo for a kick!
These questions reflect the curiosity and enthusiasm of fellow food lovers, and I’m always thrilled to share my insights. Cooking is all about exploration and joy, so don’t hesitate to ask more questions as you embark on your Cheddar Garlic Pinwheels adventure!
Conclusion on Cheddar Garlic Pinwheels
In the world of home cooking, few recipes bring as much joy as Cheddar Garlic Pinwheels. These delightful bites are not just a treat for the taste buds; they are a celebration of flavors that can brighten any gathering. The combination of sharp cheddar and aromatic garlic creates a mouthwatering experience that’s hard to resist.
What I love most about these pinwheels is their versatility. Whether you serve them as an appetizer, a snack, or a side dish, they never fail to impress. Plus, they are incredibly easy to make, allowing both seasoned cooks and kitchen novices to join in the fun. With a little creativity, you can customize them to suit any occasion or preference.
So, if you’re looking for a recipe that brings people together and fills your home with warmth and delicious aromas, look no further than Cheddar Garlic Pinwheels. I can’t wait for you to experience the joy of making and sharing these delightful treats with your loved ones. Happy cooking!


