Introduction to Blueberry Cheesecake Bars Recipe
As a passionate home cook, I find joy in creating desserts that not only taste amazing but also bring a smile to the faces of my loved ones. One of my all-time favorites is the Blueberry Cheesecake Bars Recipe. These delightful treats are a perfect blend of creamy cheesecake and sweet, tangy blueberries, all nestled in a buttery crust. Every time I make them, I’m reminded of summer picnics and family gatherings, where laughter and good food go hand in hand.
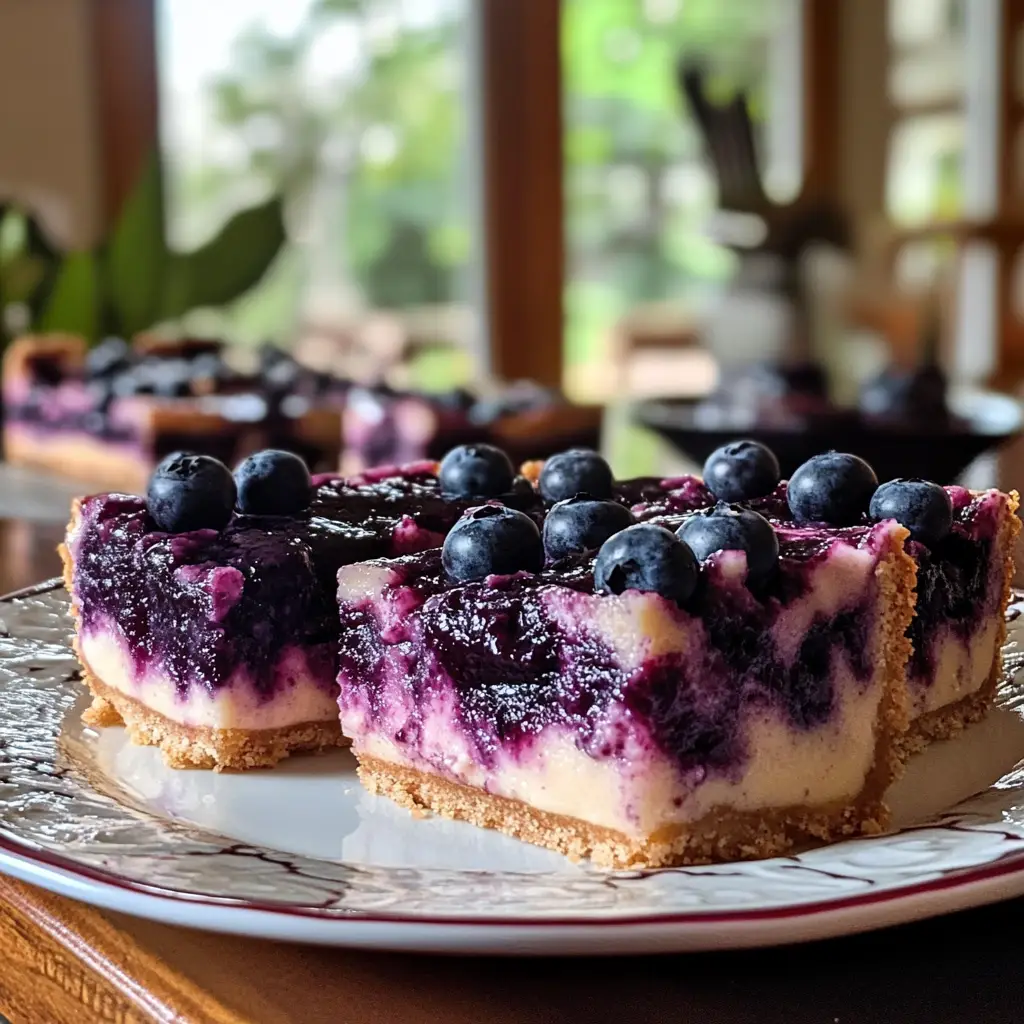
It all started one sunny afternoon when I stumbled upon a basket of fresh blueberries at my local farmer’s market. The vibrant color and sweet aroma called to me, and I knew I had to create something special. After a bit of experimenting in my kitchen, I crafted these blueberry cheesecake bars that quickly became a hit among my friends and family. The way the creamy filling melts in your mouth, paired with the burst of juicy blueberries, is simply heavenly!
What I love most about this recipe is its versatility. Whether you’re hosting a summer barbecue, celebrating a birthday, or just indulging in a sweet treat after dinner, these bars fit the occasion perfectly. Plus, they’re easy to make, which means you can whip them up even on a busy day. So, grab your apron, and let’s dive into the world of blueberry cheesecake bars that will surely become a staple in your dessert repertoire!
Ingredients for Blueberry Cheesecake Bars Recipe
Before we embark on this delicious journey, let’s gather our ingredients. I believe that using quality ingredients makes all the difference in the final product. When I make my Blueberry Cheesecake Bars, I always opt for fresh blueberries, as they burst with flavor and sweetness. However, if fresh ones aren’t available, frozen blueberries work just as well. Here’s what you’ll need:
Main Ingredients
- 1 ½ cups graham cracker crumbs
- ½ cup unsalted butter, melted
- 2 cups cream cheese, softened
- 1 cup granulated sugar
- 2 large eggs
- 1 teaspoon vanilla extract
- 2 cups fresh blueberries (or frozen, thawed and drained)
Optional Add-ons
- 1 tablespoon lemon juice for a zesty kick
- 1 teaspoon almond extract for a nutty flavor
- Powdered sugar for dusting on top
When I first made these bars, I experimented with adding a splash of lemon juice, and it really brightened the flavors! Feel free to play around with these optional ingredients to make the recipe your own. Remember, cooking is all about creativity and having fun in the kitchen!
How to Prepare Blueberry Cheesecake Bars Recipe
Now that we have our ingredients ready, it’s time to roll up our sleeves and get cooking! Making Blueberry Cheesecake Bars is a delightful process that fills your kitchen with sweet aromas. I always find it helpful to take my time and enjoy each step. Here’s how to prepare these scrumptious bars:
Step 1: Prepare the Crust
First, we need to create a buttery graham cracker crust that serves as the perfect base for our cheesecake. In a mixing bowl, combine the graham cracker crumbs and melted butter. Stir until the crumbs are evenly coated. Then, press this mixture firmly into the bottom of a greased baking dish. I like to use the back of a measuring cup to get an even layer.
Tips for Step 1
- Make sure to pack the crumbs tightly; this will help the crust hold together when baked.
- If you want a little extra flavor, consider adding a pinch of cinnamon to the crumb mixture.
Step 2: Make the Cheesecake Filling
Next, let’s whip up the creamy cheesecake filling! In a large bowl, beat the softened cream cheese until it’s smooth and fluffy. Gradually add the granulated sugar, mixing well. Then, add the eggs one at a time, followed by the vanilla extract. Mix until everything is well combined and creamy. This is the moment when I can’t resist tasting the filling—it’s so good!
Tips for Step 2
- Ensure your cream cheese is at room temperature for a smoother texture.
- Don’t overmix the batter; just blend until combined to avoid incorporating too much air.
Step 3: Add the Blueberries
Now comes the fun part—adding the blueberries! Gently fold in the fresh blueberries into the cheesecake mixture. I love seeing the vibrant color of the blueberries swirl through the creamy filling. It’s like a work of art!
Tips for Step 3
- Be careful not to crush the blueberries while folding them in; we want those juicy bursts in every bite!
- If using frozen blueberries, make sure they are thawed and drained to avoid excess moisture.
Step 4: Bake the Bars
Pour the cheesecake mixture over the prepared crust and spread it evenly. Pop the baking dish into a preheated oven at 325°F (160°C) and bake for about 30-35 minutes. The edges should be set, while the center may still have a slight jiggle. This is the moment I can hardly wait for—the smell wafting through the house is simply irresistible!
Tips for Step 4
- Keep an eye on the bars as they bake; every oven is different, and you don’t want them to overbake.
- For a perfect finish, you can turn off the oven and let the bars cool inside for about 10 minutes before removing them.
Step 5: Cool and Slice
Once baked, remove the bars from the oven and let them cool completely in the pan. I usually place them in the fridge for a couple of hours to set nicely. When they’re chilled, slice them into squares. The first slice is always the most exciting, as I can’t wait to see how they turned out!
Tips for Step 5
- Use a sharp knife for clean cuts; dipping the knife in hot water and wiping it dry can help.
- For an extra touch, dust the bars with powdered sugar before serving.
Equipment Needed for Blueberry Cheesecake Bars Recipe
Before we dive into baking, let’s gather the essential tools that will make our journey to delicious Blueberry Cheesecake Bars smooth and enjoyable. Having the right equipment on hand can make all the difference in the kitchen. Here’s what you’ll need:
- 9×9-inch baking dish: This is perfect for baking your cheesecake bars. If you don’t have one, a similar-sized dish will work just fine.
- Mixing bowls: A couple of medium-sized bowls will help you mix the crust and filling separately.
- Electric mixer: While a whisk can do the job, an electric mixer makes it easier to achieve that creamy texture for the cheesecake filling.
- Rubber spatula: This handy tool is great for folding in the blueberries and scraping down the sides of the bowl.
- Measuring cups and spoons: Accurate measurements are key to a successful recipe, so don’t forget these!
- Sharp knife: For slicing the bars neatly once they’re cooled. A hot knife dipped in water can help achieve clean cuts.
With these tools at your side, you’ll be well-equipped to create your blueberry cheesecake masterpiece. Remember, cooking is about enjoying the process, so don’t stress if you need to improvise with what you have. Happy baking!
Variations of Blueberry Cheesecake Bars Recipe
As I’ve experimented with my Blueberry Cheesecake Bars, I’ve discovered that there are so many delightful variations to try! Each twist brings a new flavor profile that can make these bars even more exciting. Here are a few of my favorite variations that you might want to explore:
- Mixed Berry Cheesecake Bars: Swap out some of the blueberries for raspberries or strawberries. The combination of berries adds a beautiful color and a burst of different flavors!
- Chocolate Chip Blueberry Bars: For a decadent twist, fold in some mini chocolate chips along with the blueberries. The chocolate adds a rich sweetness that pairs wonderfully with the tangy cheesecake.
- Lemon Blueberry Cheesecake Bars: Add a tablespoon of lemon zest and a splash of lemon juice to the filling. This brightens the flavors and gives a refreshing zing that’s perfect for summer.
- Nutty Crust Variation: Instead of using graham cracker crumbs, try a crust made from crushed almonds or pecans mixed with butter. This adds a delightful crunch and a nutty flavor that complements the cheesecake beautifully.
These variations not only keep things interesting but also allow you to tailor the recipe to your taste preferences or what you have on hand. I love how cooking can be a canvas for creativity, and I encourage you to experiment and find your own favorite twist on these delicious bars!
Cooking Notes for Blueberry Cheesecake Bars Recipe
As I’ve baked my fair share of Blueberry Cheesecake Bars, I’ve picked up a few cooking notes that can help ensure your bars turn out perfectly every time. Here are some tips that I find invaluable:
- Room Temperature Ingredients: Always use room temperature cream cheese and eggs. This helps create a smooth filling without lumps. I usually take them out of the fridge about 30 minutes before I start baking.
- Don’t Overbake: Keep an eye on your bars as they bake. They should be set around the edges but still slightly jiggly in the center. Overbaking can lead to a dry texture, and nobody wants that!
- Chill Time: Patience is key! Allow the bars to cool completely in the pan before refrigerating. Chilling them for at least two hours helps them set and makes slicing easier.
- Storage: These bars can be stored in an airtight container in the fridge for up to a week. They also freeze well, so you can enjoy them later. Just make sure to wrap them tightly!
- Serving Suggestions: For an extra special touch, serve your bars with a dollop of whipped cream or a drizzle of blueberry sauce. It elevates the dessert and makes it look even more inviting!
With these cooking notes in mind, you’ll be well on your way to creating blueberry cheesecake bars that are not only delicious but also visually stunning. Happy baking, and enjoy every bite of your sweet creation!
Serving Suggestions for Blueberry Cheesecake Bars Recipe
When it comes to serving my Blueberry Cheesecake Bars, I love to get a little creative! Presentation can elevate the experience, making these bars even more delightful. Here are some of my favorite serving suggestions that I think you’ll enjoy:
- Whipped Cream: A dollop of freshly whipped cream on top adds a light and airy touch. It complements the creamy cheesecake beautifully!
- Blueberry Sauce: Drizzling a homemade blueberry sauce over the bars not only enhances the flavor but also adds a pop of color. Simply simmer some blueberries with a bit of sugar and lemon juice until thickened.
- Mint Garnish: A sprig of fresh mint on top gives a lovely contrast and a refreshing aroma. It’s a simple touch that makes a big difference!
- Ice Cream: Serve these bars with a scoop of vanilla or lemon ice cream for a decadent dessert. The cold ice cream pairs perfectly with the creamy cheesecake.
- Dusting of Powdered Sugar: A light dusting of powdered sugar right before serving adds a touch of elegance and sweetness.
These serving suggestions not only make your Blueberry Cheesecake Bars look stunning but also enhance the overall flavor experience. Whether it’s a casual family dinner or a special occasion, these little touches will surely impress your guests!
Tips for Making Blueberry Cheesecake Bars Recipe
As I’ve spent time perfecting my Blueberry Cheesecake Bars, I’ve gathered a few handy tips that can make your baking experience even smoother and more enjoyable. Here are my top suggestions to ensure your bars turn out delicious every time:
- Prep Ahead: If you’re short on time, consider preparing the crust and filling a day in advance. Just store them separately in the fridge until you’re ready to bake!
- Use Fresh Ingredients: Fresh blueberries make a world of difference in flavor. If you can, pick them up from a local market for the best taste!
- Experiment with Sweetness: Taste the filling before baking. If you prefer a sweeter cheesecake, feel free to add a bit more sugar to suit your taste.
- Don’t Rush the Cooling: Allow the bars to cool completely before slicing. This helps them set properly and makes for cleaner cuts.
- Try Different Toppings: Get creative with toppings! From crushed nuts to chocolate shavings, there are endless possibilities to enhance your bars.
With these tips in your back pocket, you’ll be well on your way to creating blueberry cheesecake bars that are not only scrumptious but also a joy to make. Happy baking!
Breakdown of Time for Blueberry Cheesecake Bars Recipe
When it comes to baking, I always find it helpful to know how much time I’ll need to set aside. This way, I can plan my day better and enjoy the process without feeling rushed. Here’s a quick breakdown of the time required for making my delicious Blueberry Cheesecake Bars:
- Prep Time: 20 minutes – This includes gathering your ingredients, preparing the crust, and mixing the cheesecake filling.
- Cooking Time: 30-35 minutes – The bars will bake in the oven until they are set and slightly jiggly in the center.
- Cooling Time: 2 hours – Allowing the bars to cool completely in the pan and then chilling them in the fridge is essential for the best texture.
Total Time: Approximately 2 hours and 55 minutes – This includes prep, cooking, and cooling time. While it may seem like a long wait, trust me, the anticipation makes the first bite even sweeter!
With this time breakdown, you can easily fit these scrumptious bars into your day. Just remember to enjoy the process and savor the delightful aromas that will fill your kitchen!
Nutritional Information for Blueberry Cheesecake Bars Recipe
As a home cook, I always find it helpful to know the nutritional value of the treats I make, especially when sharing them with family and friends. My Blueberry Cheesecake Bars are not only delicious but can also be enjoyed in moderation as part of a balanced diet. Here’s a general breakdown of the nutritional information per serving (assuming the recipe yields 12 bars):
- Calories: Approximately 210
- Protein: 3g
- Fat: 12g
- Carbohydrates: 24g
- Fiber: 1g
- Sugar: 10g
Keep in mind that these values can vary based on the specific ingredients you use and any optional add-ons you choose to include. For instance, using low-fat cream cheese or a sugar substitute can alter the nutritional profile. I always encourage my friends to enjoy these bars as a treat, savoring each bite while being mindful of portion sizes. After all, it’s all about balance and enjoying the sweet moments in life!
Frequently Asked Questions about Blueberry Cheesecake Bars Recipe
As I’ve shared my Blueberry Cheesecake Bars with friends and family, I’ve noticed a few common questions pop up. It’s always great to clarify any doubts, especially when it comes to baking. Here are some frequently asked questions that I hope will help you on your baking journey:
Can I use frozen blueberries instead of fresh?
Absolutely! Frozen blueberries work just as well in this recipe. Just make sure to thaw and drain them before adding them to the cheesecake filling. This helps prevent excess moisture, ensuring your bars maintain that perfect texture.
How do I store leftover cheesecake bars?
To keep your Blueberry Cheesecake Bars fresh, store them in an airtight container in the refrigerator. They can last up to a week. If you want to keep them longer, you can freeze them! Just wrap them tightly in plastic wrap and then place them in a freezer-safe container.
Can I make these bars ahead of time?
Yes! These bars are perfect for making ahead of time. You can prepare them a day or two in advance. Just remember to let them cool completely before refrigerating. This way, they’ll be ready to serve when you need them!
What can I substitute for cream cheese?
If you’re looking for a lighter option, you can use Greek yogurt or cottage cheese blended until smooth. However, keep in mind that the flavor and texture will be slightly different. I recommend sticking with cream cheese for the best results, but it’s fun to experiment!
Can I add other fruits to the recipe?
Definitely! While blueberries are the star of this recipe, you can mix in other fruits like raspberries, strawberries, or even peaches. Just be mindful of the moisture content, as some fruits may require adjustments to the recipe.
These questions are just a few of the common queries I’ve encountered while baking my Blueberry Cheesecake Bars. If you have any other questions or need further clarification, feel free to reach out! Baking is all about learning and sharing, and I’m here to help you create the best dessert possible!
Conclusion on Blueberry Cheesecake Bars Recipe
In conclusion, my Blueberry Cheesecake Bars are more than just a dessert; they are a celebration of flavors and memories. The creamy cheesecake, paired with the sweet-tart burst of blueberries, creates a delightful harmony that is hard to resist. Whether you’re sharing them at a family gathering or enjoying a quiet evening at home, these bars bring joy and satisfaction with every bite.
What I love most about this recipe is its simplicity and versatility. With just a handful of ingredients and a few easy steps, you can create a stunning dessert that looks as good as it tastes. Plus, the ability to customize the recipe with different fruits or flavors means you can make it your own, ensuring it fits any occasion.
So, the next time you’re in the mood for something sweet, I encourage you to whip up a batch of these blueberry cheesecake bars. They are sure to impress your friends and family, and who knows, they might just become a beloved staple in your kitchen, just like they have in mine!


